Our Kitchen Table
November 30, 2011 by Lynn
Filed under Decorating, Featured Content, Home and Garden
TTTAAAAAA DDDDAAAA!!!
Here is two pictures of the table Devan made for me last week! It is a beautiful solid table. And when I say “solid” I mean sturdy, that bad boy could be danced on!  I love it. I mostly love the way it was built. I am not sure if I love how we stained it. I might be sanding it down and starting over. The white wash didn’t turn out how I hoped. We will see about all that soon.
But! I can’t believe how quickly and well Devan made it. I will be giving a tutorial and directions on the process next week. But, for now here are two pictures to share.
P.S. You could totally do this! Just get a little DIY with your bad self and the hubs too. 😉
Ribbon Trees
November 28, 2011 by Lynn
Filed under Christmas, Crafts, Featured Content, Holiday Crafts
These tree are pretty easy they are just a little time consuming. This is a sit in-front of the TV and watch a good show kinda project. They make a great center piece at Christmas dinner. I would normal make these red and green, but I made them for my mom and these are her colors.
Buy 3 different sized foam cones
A few different sizes, colors, textures of ribbon. About 5 or 10 different ribbons.
A box of 3/4 of an inch to 1 inch needles.
Cut the ribbon into 3 inch pieces. Start at the bottom of the cone folding your ribbon in half and pinning it to the cone. Work your way up alternating the ribbons in a pattern.
Create a bow at the top by twisting and pinning one of the ribbons. Done!
$2 Standing Chalk Board
November 21, 2011 by Lynn
Filed under Christmas, Crafts, Decorating, Featured Content, Holiday Crafts, Home and Garden, Thanksgiving
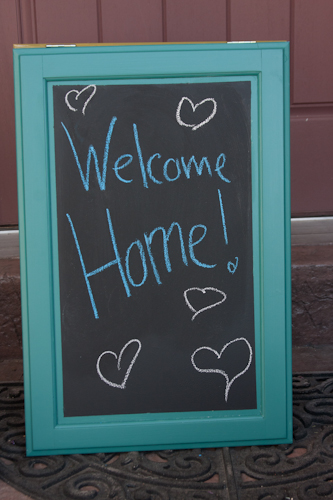
I have been wanting a chalk board for outside my house to write different fun things on. Like those chalk boards you see outside of restaurants with the daily specials. I looked them up online and they cost around $189 buck-a-roos! Crazy! I recently discovered a place called Re-Store in Orem, Ut. It is for Habitat for Humanity. You can drop off old cabinets, doors, paint, any building materials. They use some of it and the public can come in to buy it too. It’s like a thrift store for building materials. I love it.
I bought these two lovely old cabinet doors there.
I painted them two different colors, to get more use out of them.
I tapped of the inside and painted on some chalk board paint.
After that was dry, I turned them over and screwed in some regular door hinges to the tops.
I probably should have painted the backs too, but I am too lazy. 
These are the top of the cabinets now attached together. (turned sideways)
Done! Easy as pumpkin pie! Took me only a few hours, mostly waiting for paint to dry, but was fast and easy!
And, because I had the hinges and the paint it only cost me the $2 dollars for the doors. Sweet! I LOVE projects like these!
Now I can use it all the time 
Seashell Necklace in November
November 16, 2011 by Lynn
Filed under Crafts, Featured Content, Kids Crafts
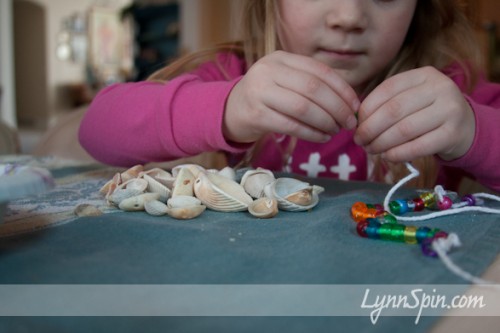
Okay, I know it doesn’t really fit to make shell necklaces in November. But, it is a good way to remember summer will come again and it’s kinda fun as the snow is falling outside 
This could be a fun Family Home Evening idea.
Look through your pictures or scrapbooks of summer with your kids. Talk about the things you liked about being at the beach, swimming, playing with them on vacation. Maybe have them write down or draw pictures of their favorite things to do in summer. Talk about the seasons that Heavenly Father created and why each one is essential. Then bust out all those shells you collected last summer, get some string, and go to town. You could even make hamburgers or Hawaiian haystacks for dinner- that’s summerie.  Or make a coconut cookie as dessert. An easy FHE with almost no prep and it’s hands on!
I wrap a little thing of tape on the end of the string for the little ones to help the slide the beads and shells on easier. Charlie and I like to practice counting while she strings her beads. 
Oh summer days, please come back soon  We miss you already
Israel- Art is Everywhere
November 15, 2011 by Lynn
Filed under Art, Featured Content
Today I was thinking about what to post. I have some really awesome posts coming up, but they are all in the works. I don’t have any tutorials ready for you today. Just one little thought.
Art is everywhere.
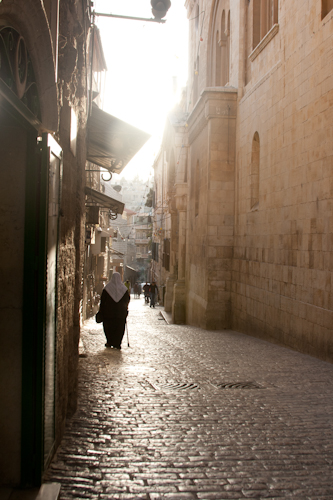
I was looking through all my pictures today trying to find a picture of my yummy Sausage Tortellini Soup and instead came across my pictures from Israel. I haven’t gone through them or even shown them to my husband yet. I got busy with our move, then just busy with life, and I kinda forgot about them. I could not find any pics of my soup to share with you today, so here are some of my pictures to share. Not only are there art galleries all over Israel, espcially in Jaffa where we stayed. But, there is art in the fences, on the building, on the sides of buildings. It is beautiful there. I would love to go back someday. I loved the people I met, I loved the Mediterranean Sea, and the sunsets. I loved the food 
There are a few pictures I could not find that I wanted to share, but here ya go. A few pictures from my trip to Israel.
My sister road this guy. He’s handsome alright.
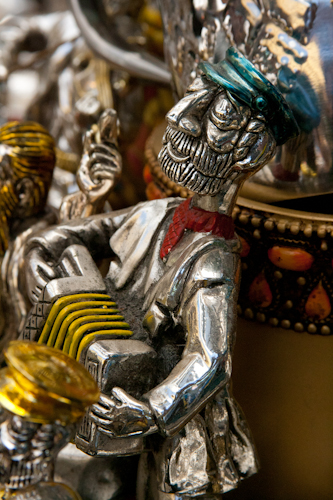
I can imagine this little guy was singing, “If I were a rich man…” lol sing it brother
There markets there are awesome and lots of fun. I especially love the lines people you to try and get you in there store. “Oops..you missed me.” Said the old man with a smirk and a wink. Or the man that yelled to us that we dropped something, only them to be told…wait for it…”My heart!” lol! My sister and I laughed all the way down the street, totally caught us off guard. Good one.
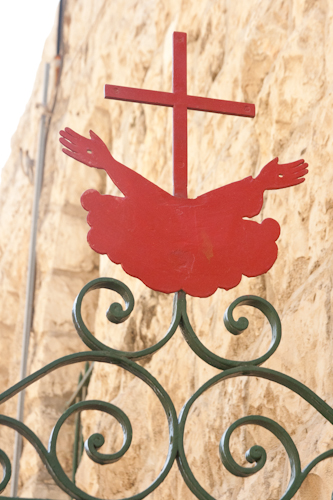
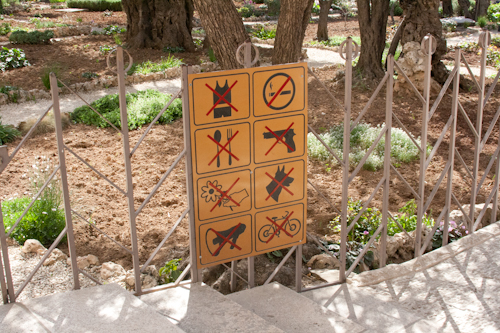
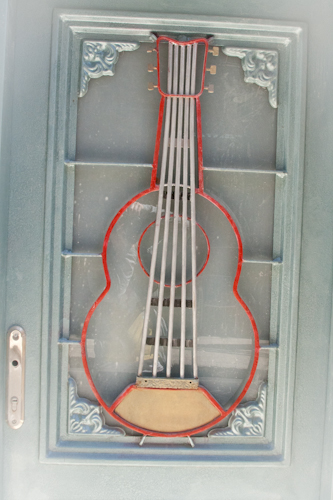
a fence
Pretty much just walk and no funny business. 
Garden of Gethsemane
Dome of the Rock
A window
Jersualem
I am excited for the next time I get to travel and see more of the beauty that is in the world.
Pottery Barn Inspired Thanksgiving Advent
November 14, 2011 by Lynn
Filed under Featured Content, Holiday Crafts, Thanksgiving
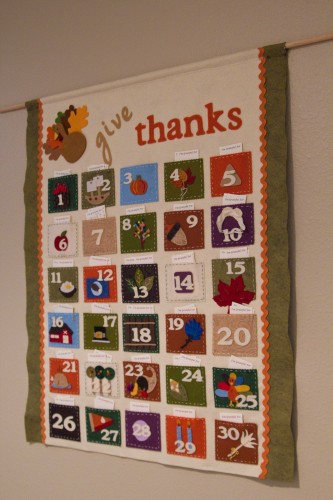
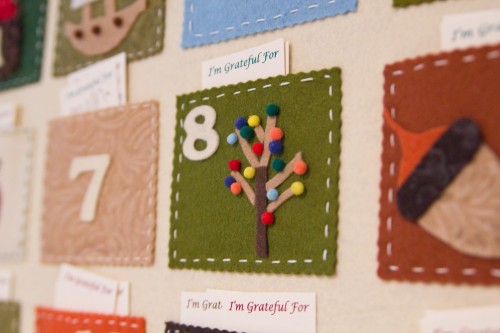
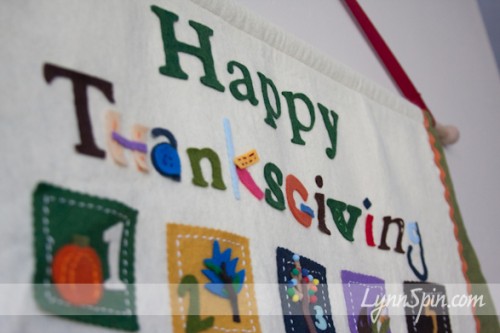
Two years ago and few girl friends and I set out to re-create a Pottery Barn advent calendar that we all liked. Actually, to be honest, it turned into about 20 or so church lady friends. It was a blast, a lot of work, but fun. I liked seeing how everyone’s turned out.
We loved how ours turned out. Now I am sharing it with you 
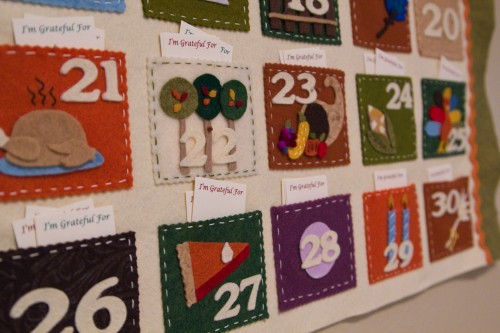
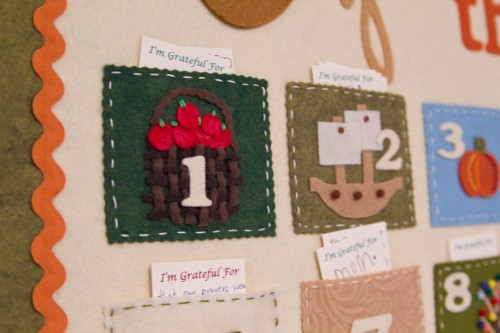
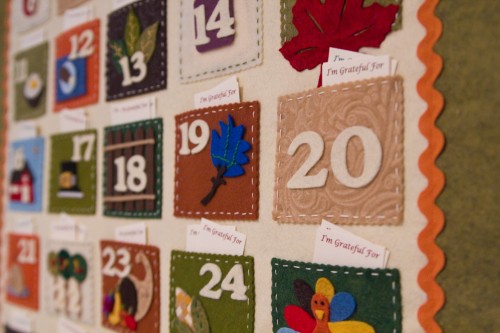
Here are some pictures of mine and one of my girl friends. All the dimensions, supplies, and patterns are below the pictures. Enjoy!
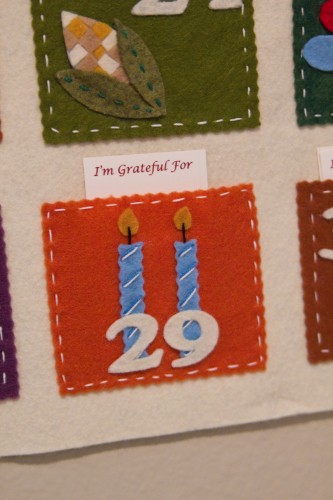
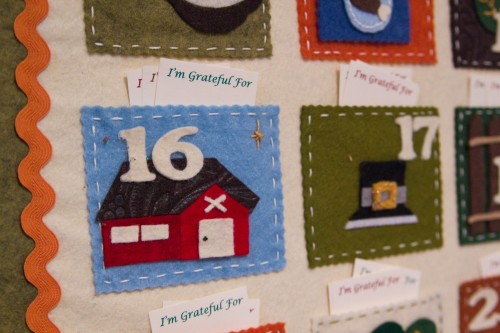
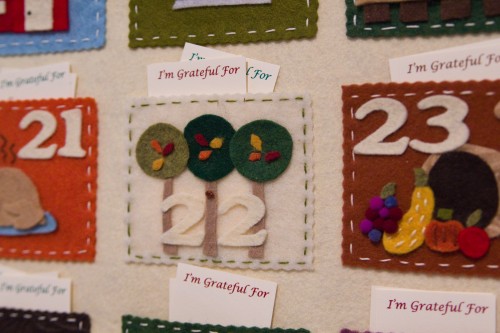
These pictures are from my friends calendar. I like how she used the same color and font for all her numbers. She also made her pockets bigger than mine. I will be giving the dimensions for her pockets, because they work better bigger.
Her husband has a b-day in November so she added some candles to on of the days, very cute.
And maybe my favorite thing on hers is the cooked TURKEY. I love her turkey, I wish I put that on mine. I don’t have it in the directions, so you will have to figure that one out by looking at the picture. It’s on the 21st, a little hard to see sorry.
I also love her apple basket on 1 and fence on 18
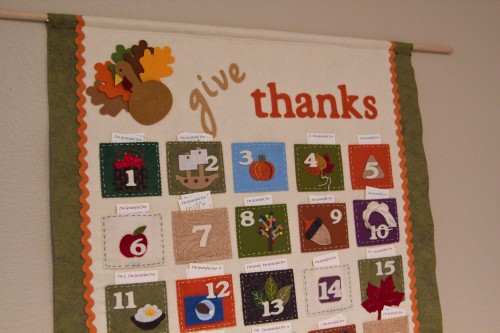
Her and my top is different. There were two different Pottery Barn calendars, she chose the more classic one and I did the more funky mis-matched one.
Here is mine-
I so added room at the bottom of mine for our last name. The directions include space for that.
You will need:
Two pairs of scissors- regular and a small sharp pair for intricate cutting
embroidery needles with a medium sized hole
embroidery thread
felt- lots of felt!
mini pom-pom balls
tweezers
Paper cutter with wavy blade or pinking shears
felt glue or tacky glue that dries clear
A piece of ribbon 1 1/4 yards long-to hang from dowel
Ribbon or Rick Rack for the sides
Dowel with end caps
Optional- a electronic cutting machine. I used my Cricut to cut the letters and numbers out of felt.
Directions and Dimensions-
Cut One piece of felt 39″ long by27.5″ wide
Cut the inner piece of felt (the off-white on ours) 39″long by 23.5″ wide
Lay the smaller piece down on top of the wider piece and sew down both sides. 2 inches should be showing of the bottom piece on both sides. Can sew ribbon or rick rack down the side on the inner piece of felt.
Create a space for the dowel at the top by folding back the top 1-1 1/2 inches- depending on the size of the dowel you buy. Sew across top.
Optional, but looks nice. Fold bottom back about 1/2inch and sew across the bottom. You could also glue all of these if you aren’t into sewing.
We cut our squares 4″ wide by 3″ tall. We cut them with a paper cutter that had a wavy blade. You could also get that edge with pinking shears. We then did a running stitch around the sqaures. This does take a while, watch a moive while you do this part. 
The squares are in rows of 5. About 2.5 inches from the edge and 4-5 inches from the top. They are 1/2 inch apart from side to side. And, the rows are about 1 inch down for each other. You will want to lay it all out before you start gluing them down. Make sure to leave room at the bottom for your name and a turkey if you want that.
To cut felt on your Cricut there are a few steps.
First, just like cutting fabric you will need to iron on some heat and bond on the back. This helps it to stay in place while cutting. Next make sure you use a deep cut blade, this is different then the blade that it comes with. Cut as deep as you can and slowly. I used blue painters tape to help hold the felt around the edges. It was a process, but if you are doing it just for your self and a friend or two it will be great. I did all the numbers and letter for about 20 women. It took me three days to cut the felt! With the help of my mom. I went into labor a week later lol  Good times. 😉
Patterns
Click below for the pattern for the little pieces on the squares. This link will take you to Box.net where you can print out the pattern. And, sorry they are not the most well organized patterns, but they get the job done. 
I know it is a little late in November for this calendar, but start now so you can have it for next year! 😉
Plum Fruit Leather
November 10, 2011 by Lynn
Filed under Featured Content, Snacks/Appetizers, Yummy Food
You can make any kind of fruit leather following these simple directions.
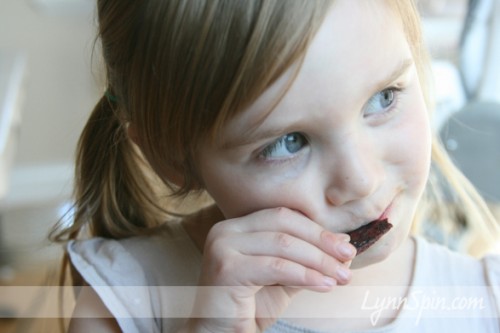
We have a plum tree in our yard so we used our beautiful plums. FYI- all pictures after this one are slightly blurry. Sorry 
So easy to make fruit leather. All you need is SWEET, RIPE FRUIT.
We cut the plums in half and let Charlie, our 3 year old, pull out the pits and sort them. She thought it was great to help and she was crazy fast at it. We are always looking for an easy safe step Charlie can help with cooking.
After pitting the fruit, then place in the food processor till it is pureed nice and smooth.
Spray Pam on your dehydrator sheets. Then pour the pureed plums onto the sheets and turned it on the fruit setting. (Make sure you pray Pam or you will not get the fruit leather off the sheets.)
Place the lid on and let it do it’s thing. Leave it there until it is firm enough to peel about 12-16 hours, depending on your dehydrator.
Enjoy!
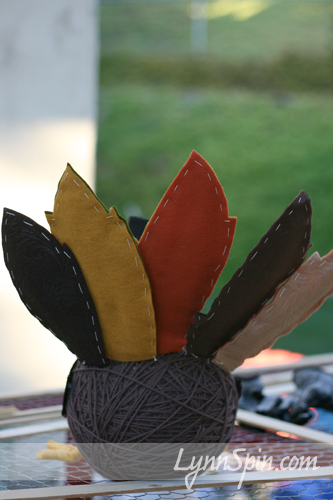
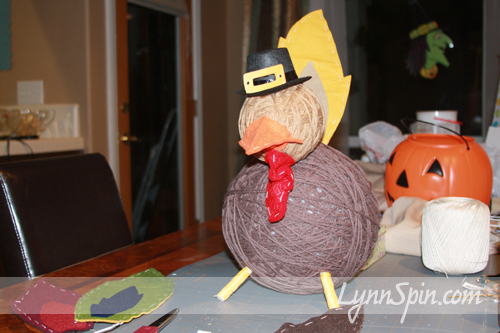
Yarn Turkey -Free Pattern and Supply List-
November 9, 2011 by Lynn
Filed under Featured Content, Holiday Crafts, Thanksgiving
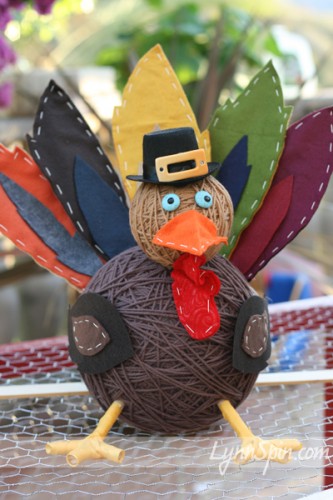
I wanted something for my table that was exciting for kids to look at. I saw a few people wrapping yarn around styrofoam to make a turkey body last year and came up with this idea. I love my turkey and so does my two year old. It’s a pretty simple/fast craft after you buy all the supplies.
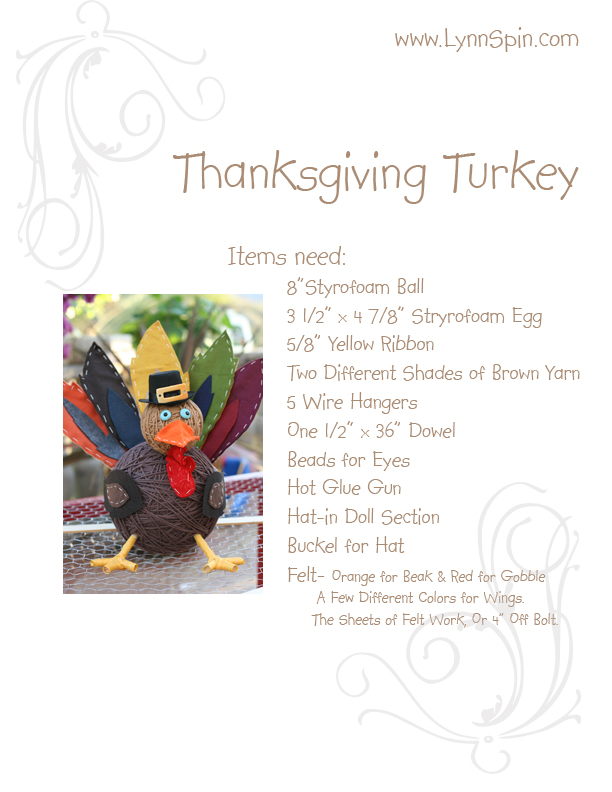
Here’s the supply list- You can print it out if you click on this picture.
To get started PRINT out the pattern for feathers, beak, and gobble here. Click on pictures below to download.
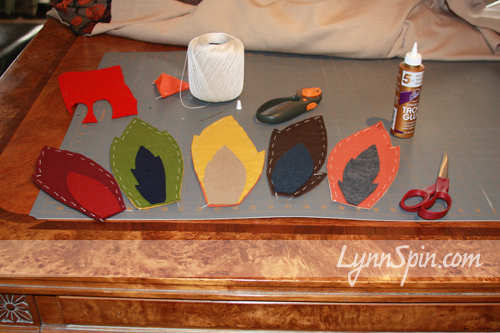
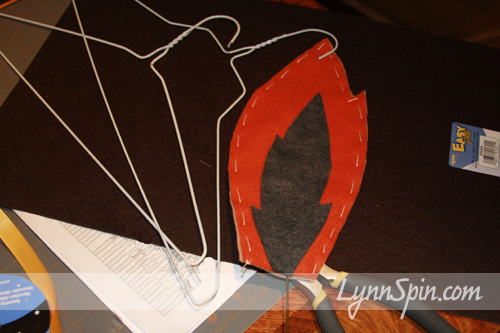
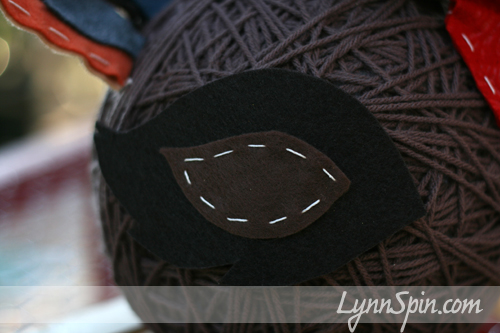
Cut these out and then cut out felt. Then do a running stitch around the 2 large pieces of the feather to hold them together(and to look cute). DON’T GET GLUE IN THE MIDDLE OF FEATHER. The wire hanger goes in the middle. Glue the out side/decorative piece in the middle of the front of the feather.
After your felt is ready, now you are ready for the easy part. You might want to get your kids and have them help you with this part. Wrap the dark yarn around the body, gluing the first piece to the styrofoam ball if needed. Secure ends when covered ball. Then wrap the egg shape with the lighter yarn.
I then figured out where I wanted my head to be placed on the body. I stuck a four inch piece of the wire hanger in the body(about 2″ sticking out) glued it with hot glue and attached the head to that. Sorry I didn’t take more detailed pictures.
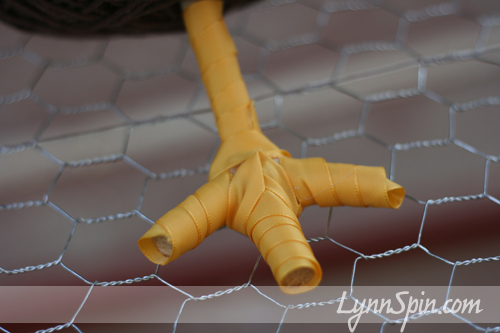
Now you will need to make the feet. I cut two 4 inch pieces and six 1 and 1/2 inch pieces of the dowel. I stuck the 4 inch pieces- 1 inch into the large ball. Prop up your bird at this point and set it on wax paper. Then take your six 1 and 1/2 inch pieces and hot glue three to each 4 inch piece. I just glued like crazy. I put a huge blob of hot glue down and stuck the pieces in that. Sorry again I don’t have a picture. After that is all dry wrap yellow ribbon around the feet and legs.
I then cut and shaped my wire hangers into a long u-shape. Stick both ends into the bird. Slide feathers you make on to those.
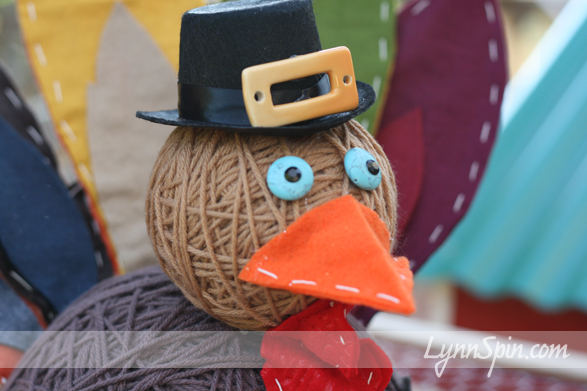
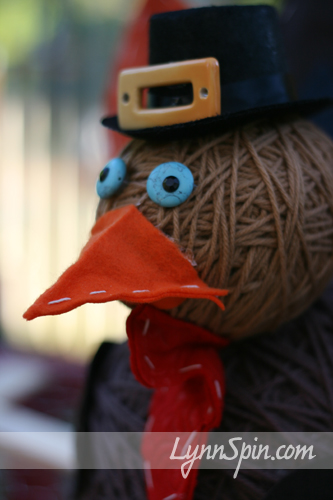
After everything is done add your face and side wings. Cut out your felt beak and gobble. Stitch the fronts and backs together. Glue both pieces on. Add hat and eyes.
Kids Leaf Place-mats
November 7, 2011 by Lynn
Filed under Crafts, Featured Content, Holiday Crafts, Kids Crafts, Thanksgiving
This is a great Family Home Evening idea you can do tonight with the kids! It requires little to no prep and is easy for all ages. And your kids can use these at the kid table during Thanksgiving 
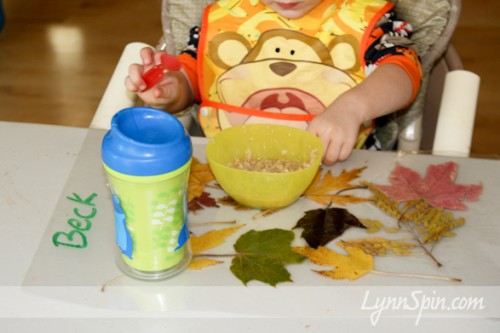
After dinner onE night we went for a walk around the block and collected leafs.
Then we went home and laid them out on our laminating sheets.
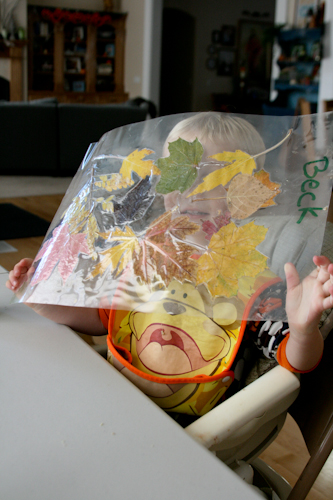
The kids loved watching it go through the laminator.
If you don’t have a laminator just glue your leafs to a piece of paper. Add some stickers and glitter too. You can then take it to any Kinko’s, map store, office supply store and they will laminate it for you for a small price.
They are so happy with their work!
Get crafty with your kids…they will love it 
20 Minute Pumpkin Bag- Easy Printable Pattern
October 31, 2011 by Lynn
Filed under Crafts, Featured Content, Halloween, Holiday Crafts
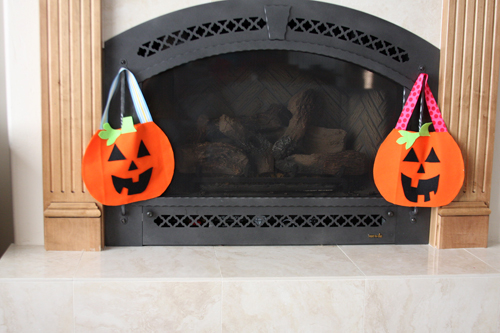
If you need a pumpkin bag for tonight, here is your last minute bag pattern and tutorial. It is soo easy! And, no sewing required. Just grab your scissors, hot glue gun, and felt. Print out my pattern and go to town. 
Happy Halloween!!
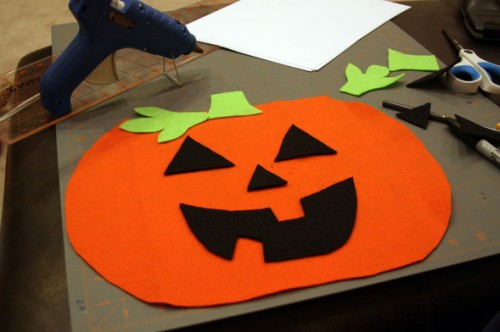
Follow the pattern and cut out all your pieces. Hot glue a 22 inch piece of ribbon on to the inside of your back piece and set it aside.
Glue the face onto the front of your front piece.
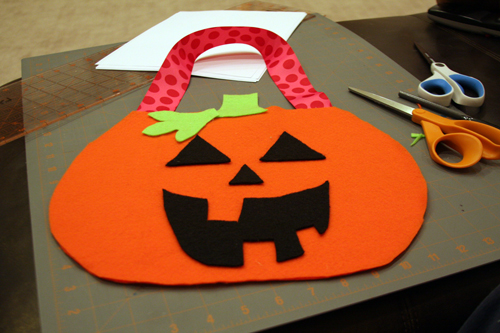
Then take the back pieces and put a thin line of hot glue all the way around the outside edge of the pumpkin DO NOT GLUE THE TOP EDGE! That is the opening. 
Lay the top piece on. Taa Daa! 20 minute (maybe less) pumpkin bag done!
If you wanted to make it a little fancier you could sew the pieces on then sew it together. It would look great with some fun stitching around the edges. Get Crafty!
My kids where super happy to find these this morning. I love Halloween 
Print the patterns – click HERE for bag and HERE for the face pieces.


