Super-Hero Cape! Pow! Bam! Watch Out Now!
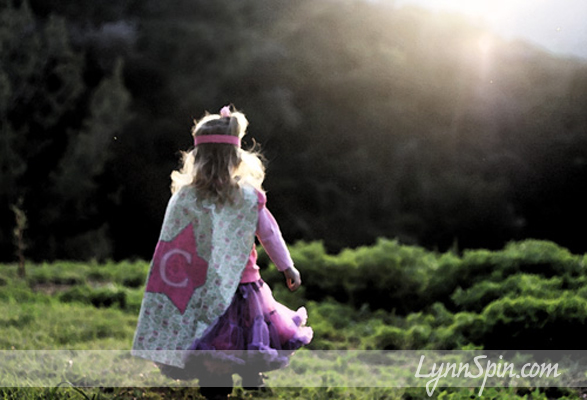
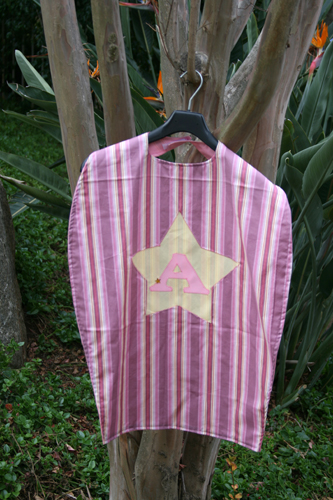
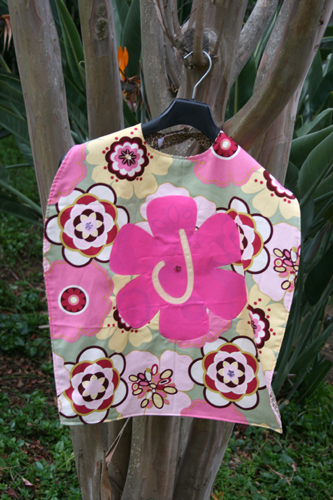
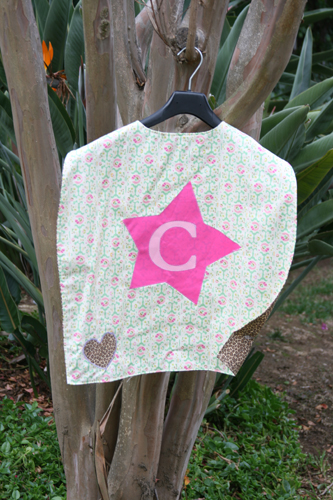
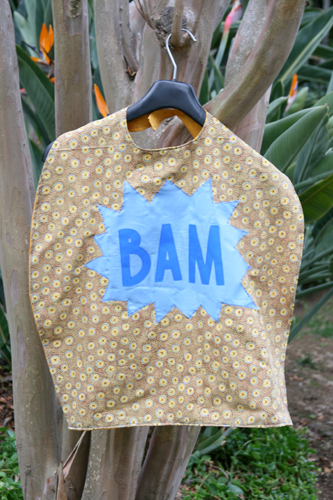
Last Christmas I thought I would be such a cool Aunt and make superhero capes. I made one of each of my 7 nieces and nephews, plus two more for my kids. I was and still am very proud of myself for this, even though most of them didn’t quite get it yet (totally didn’t care). Someday they will be glad they have capes  I probably should have waited till they were 3 or maybe even 5. Anywhoo…here’s how I made them!
If you can sew a straight line you can do this!! Don’t be intimated, YOU CAN DO IT! 
Here is what you will need:
A Sewing Machine
Scissors
Pins
Measuring tape
Some tissue paper/pattern paper to make pattern
Chalk
Iron
Heat-and-Bond-sewable
John Mayer on your radio/iPod/CD player 
Tracing paper or a Cricut machine
Velcro
3/4 of a yard of fabric for each-front and back
You will probably want 3-4 different fabrics. One for inside of cape, one for main part, one solid for shape (12×12 piece of fabric), and one solid for letter (5×5 piece)
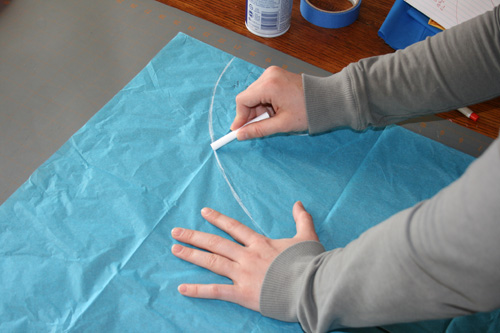
The first thing you will want to do is make a pattern. I do this by taking a piece of tissue paper and drawing my lines with chalk.
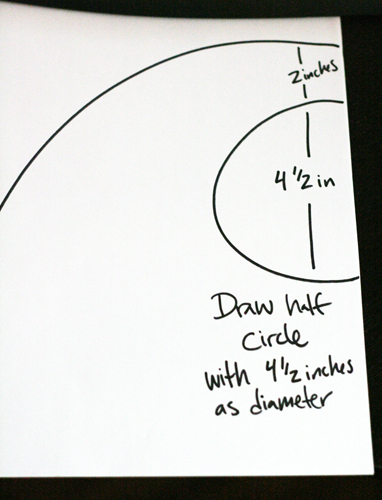
It will look like half a cape when you are done with this step. I make it 10 1/2 inches to the widest part of the cape and 21 inches long, but you can make it as long as you need. Don’t feel like you have to stick to these measurements, they are just guidelines. Adjust them to fit your child. I made several different sizes. I usually kept the width though, seemed to work for every body size up to age 6. See Picture below for the neck measurements. Those also work for everyone. Feel free to change them if you don’t like them.
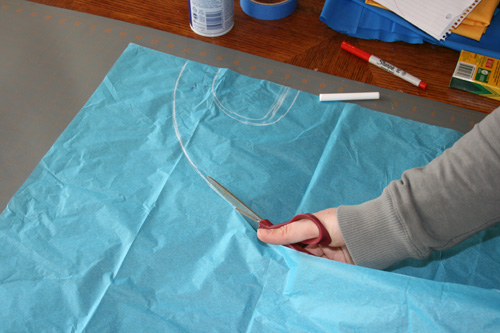
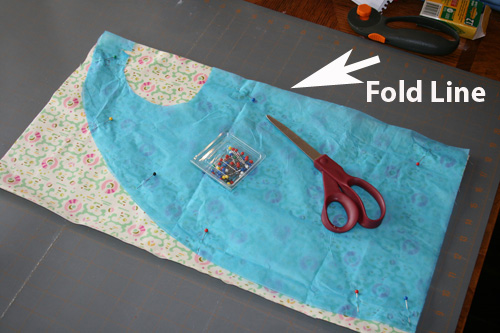
Cut out pattern and pin it to fabric. Using the edge of the pattern as the fold line.
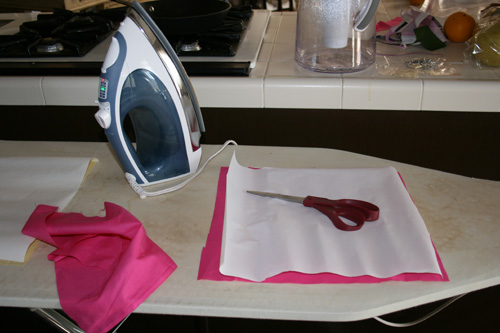
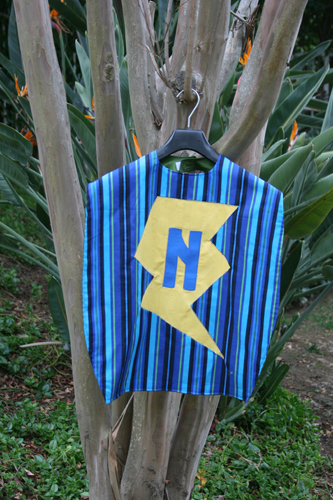
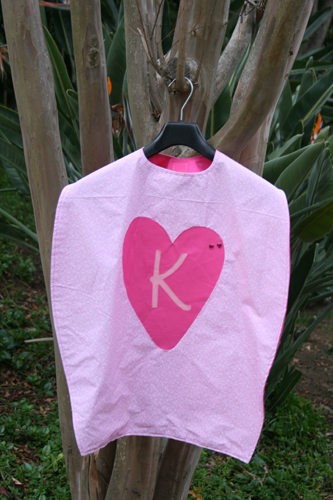
Cut out the front and back of your cape. You are going to want to take your 12×12 piece of fabric for your shape and your 5×5 piece for the letter and apply the Heat and Bond on the back of these fabrics. Then cut out your star, lightning bolt, star burst, flower, etc. and letter. I used my Cricut machine, but you could all so just trace the shape you want and cut it out yourself.
For the Cricut peel the paper for the Heat and Bond off the back, place the fabric on the cutting mat, and load it in. You will want your settings to be: Blade depth-3 Speed- low Pressure- med/high (you do not need a deep-cut blade for this)
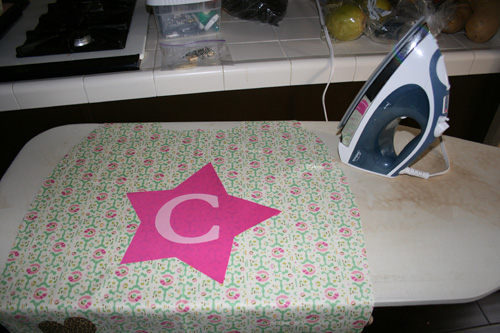
Okay now you are going to iron on the shape and letter on to your fabric.
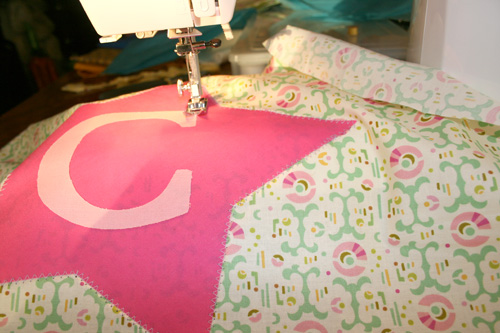
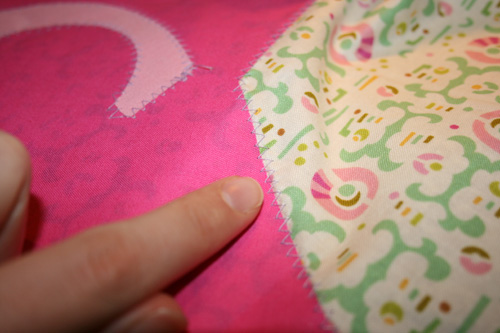
Now to secure it better and make it look a little more cute, you will top stitch over the shape and letter. I used a zigzag stitch, I thought it was the easiest way to go and looked nice.
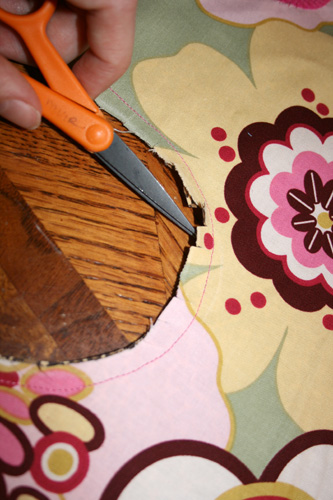
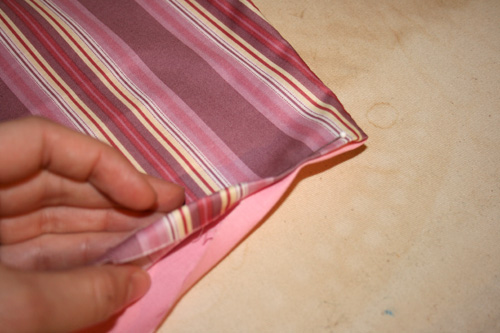
After you have finished this you can sew your back and front piece together. Place right sides in, pin in place, and sew. Sew from the bottom corner up around neck and down to the opposite bottom corner; leaving the bottom of the cape open so you can flip it right sides out. Before you flip it you will want to make sure that you have clipped around the neck to help prevent puckering.
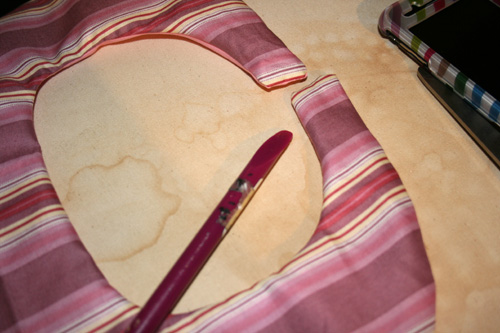
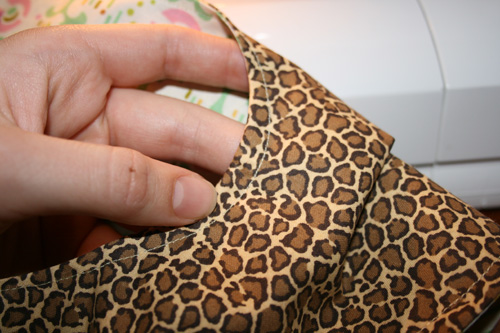
After you flip it back you will need to use an object that has a pointed and rounded tip (I used the end of a paint brush) to push the neck ends all the way out like so…
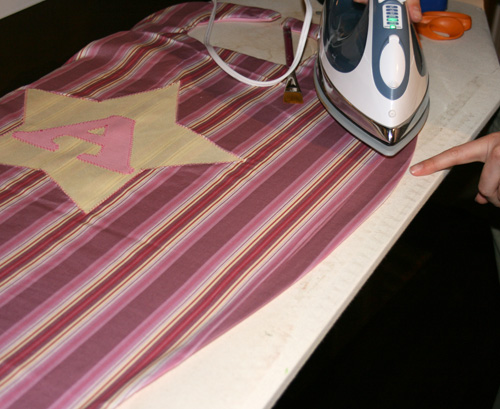
Then iron the edges of the cape.
Fold and pin the bottom of the cape.
Now, with your sewing machine, top stitch a straight stitch around the entire cape.
ALMOST DONE  Just add the Velcro and your done! Decide which flap you want on top and place the fuzzy side under that. Place the scratchy side on the top of the bottom flap. I put an extra long fuzzy piece on so that the cape can grow with my child. (Hope that all made sense)
Sew the Velcro.
And you are done! See not that hard 
Now bask in the glory of what you made and how cool of a person you are.
(Shortly after making the cape for my two year old she ripped it off and stomped on it) cool…
I am sharing my idea at…


