Pottery Barn Inspired Thanksgiving Advent
November 14, 2011 by Lynn
Filed under Featured Content, Holiday Crafts, Thanksgiving
Two years ago and few girl friends and I set out to re-create a Pottery Barn advent calendar that we all liked. Actually, to be honest, it turned into about 20 or so church lady friends. It was a blast, a lot of work, but fun. I liked seeing how everyone’s turned out.
We loved how ours turned out. Now I am sharing it with you 
Here are some pictures of mine and one of my girl friends. All the dimensions, supplies, and patterns are below the pictures. Enjoy!
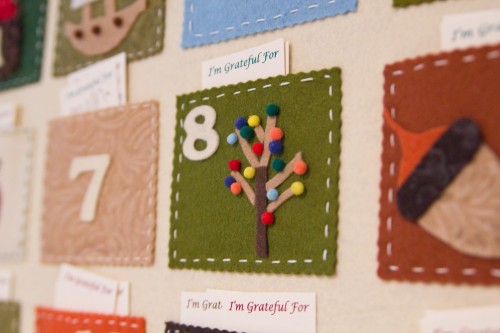
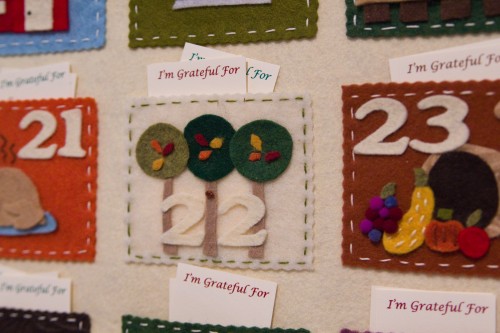
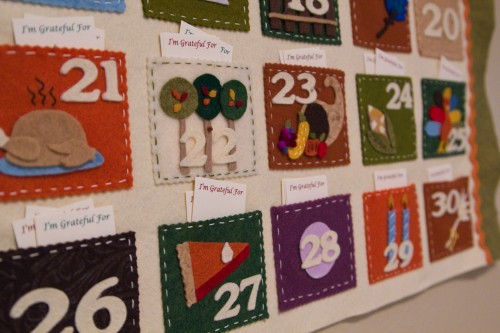
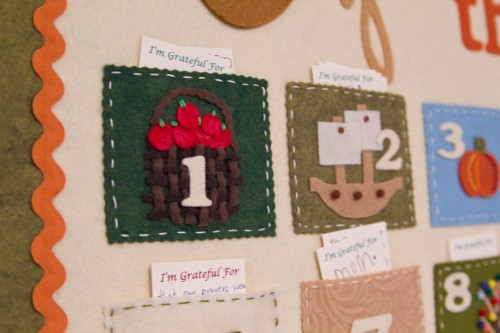
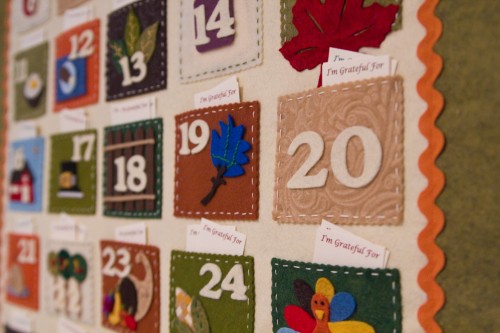
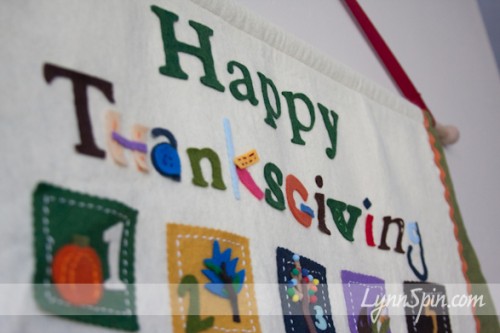
These pictures are from my friends calendar. I like how she used the same color and font for all her numbers. She also made her pockets bigger than mine. I will be giving the dimensions for her pockets, because they work better bigger.
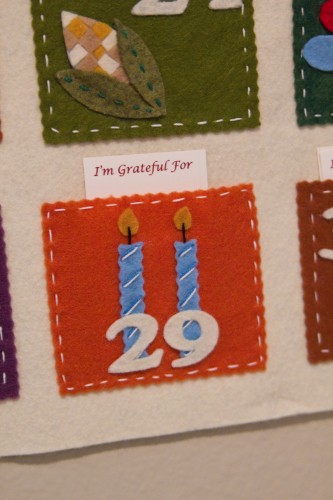
Her husband has a b-day in November so she added some candles to on of the days, very cute.
And maybe my favorite thing on hers is the cooked TURKEY. I love her turkey, I wish I put that on mine. I don’t have it in the directions, so you will have to figure that one out by looking at the picture. It’s on the 21st, a little hard to see sorry.
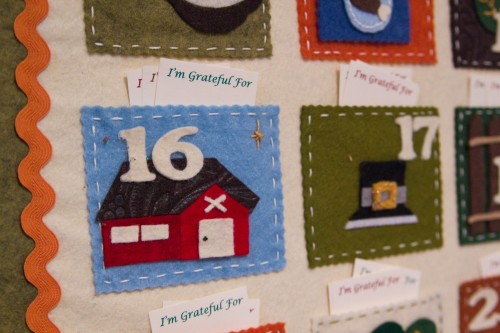
I also love her apple basket on 1 and fence on 18
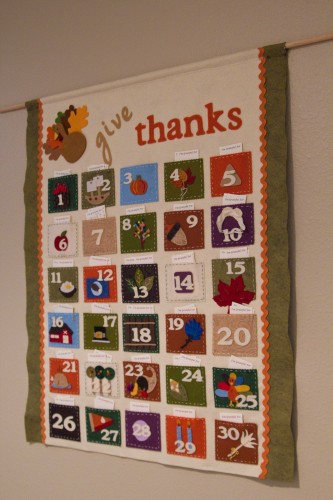
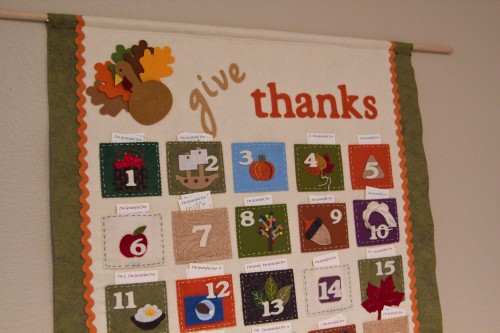
Her and my top is different. There were two different Pottery Barn calendars, she chose the more classic one and I did the more funky mis-matched one.
Here is mine-
I so added room at the bottom of mine for our last name. The directions include space for that.
You will need:
Two pairs of scissors- regular and a small sharp pair for intricate cutting
embroidery needles with a medium sized hole
embroidery thread
felt- lots of felt!
mini pom-pom balls
tweezers
Paper cutter with wavy blade or pinking shears
felt glue or tacky glue that dries clear
A piece of ribbon 1 1/4 yards long-to hang from dowel
Ribbon or Rick Rack for the sides
Dowel with end caps
Optional- a electronic cutting machine. I used my Cricut to cut the letters and numbers out of felt.
Directions and Dimensions-
Cut One piece of felt 39″ long by27.5″ wide
Cut the inner piece of felt (the off-white on ours) 39″long by 23.5″ wide
Lay the smaller piece down on top of the wider piece and sew down both sides. 2 inches should be showing of the bottom piece on both sides. Can sew ribbon or rick rack down the side on the inner piece of felt.
Create a space for the dowel at the top by folding back the top 1-1 1/2 inches- depending on the size of the dowel you buy. Sew across top.
Optional, but looks nice. Fold bottom back about 1/2inch and sew across the bottom. You could also glue all of these if you aren’t into sewing.
We cut our squares 4″ wide by 3″ tall. We cut them with a paper cutter that had a wavy blade. You could also get that edge with pinking shears. We then did a running stitch around the sqaures. This does take a while, watch a moive while you do this part. 
The squares are in rows of 5. About 2.5 inches from the edge and 4-5 inches from the top. They are 1/2 inch apart from side to side. And, the rows are about 1 inch down for each other. You will want to lay it all out before you start gluing them down. Make sure to leave room at the bottom for your name and a turkey if you want that.
To cut felt on your Cricut there are a few steps.
First, just like cutting fabric you will need to iron on some heat and bond on the back. This helps it to stay in place while cutting. Next make sure you use a deep cut blade, this is different then the blade that it comes with. Cut as deep as you can and slowly. I used blue painters tape to help hold the felt around the edges. It was a process, but if you are doing it just for your self and a friend or two it will be great. I did all the numbers and letter for about 20 women. It took me three days to cut the felt! With the help of my mom. I went into labor a week later lol  Good times. 😉
Patterns
Click below for the pattern for the little pieces on the squares. This link will take you to Box.net where you can print out the pattern. And, sorry they are not the most well organized patterns, but they get the job done. 
I know it is a little late in November for this calendar, but start now so you can have it for next year! 😉







This is so cute! It reminds me of something your Mom made for us when we were kids. We had a December one. My mom still puts it up! You could probably make one for every month:)
You should totally make some to sell them! I would loooooove to buy one from you! Let me know if it’s something you’d like to do
Have a wonderful day and a Happy Thanksgiving!