Shared Boy/Girl Room
January 28, 2013 by Lynn
Filed under Crafts, Decorating, DIY, Featured Content, Furniture Redos, Home and Garden
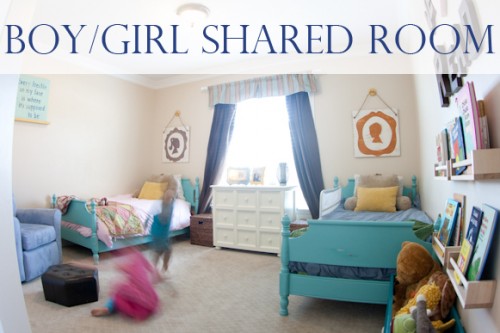
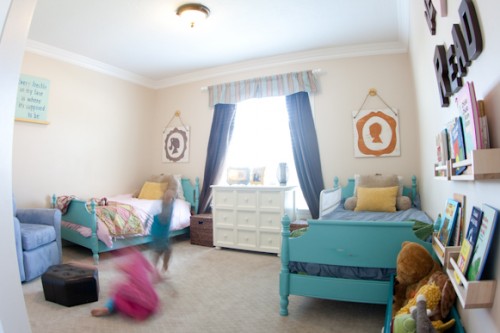
When sweet little number 3 came along, I wanted her to be in her own room. I wanted to put the kids who where on the same sleep scheduled in the same room. That way there would be less waking me up!  And I felt little Ruby Lou would be safer if she didn’t have a loving sibling trying to give her an extra blanket or stuffed animal. So, my only solution was to put the two oldest in the same room. How do I decorate a boy/girl room without it being too masculine or too famine?! I decided I would start with fabric and go from there. After a fabric hunt I found my base for the room colors. (Which are the drapes) My mom and dad sent down my old bed frames from Washington and I painted them a color from the drapes. And I went from there…
Here are some pictures. I will post more info on the art and other tidbits around the room later. I am doing the reveal first hahaha…. 
My friend (who has a super cute house and blog, click HERE for The Rooster and The Hen) gave me the idea to paint the beds this teal color, pulled from the drapery fabric.
To see how I painted the beds Click HERE
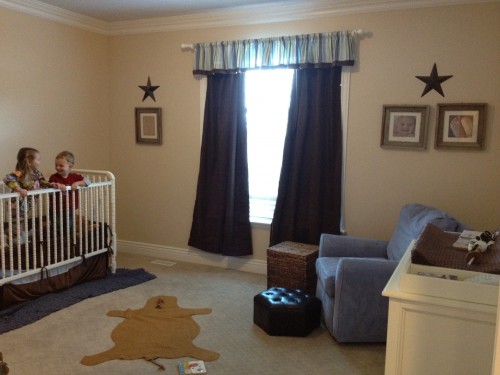
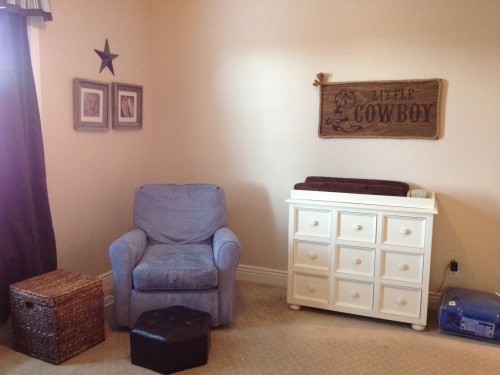
-The room looked like this before-
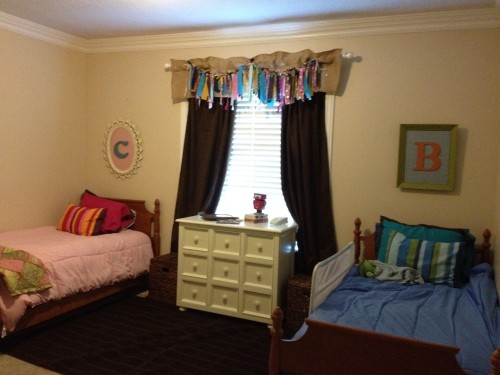
-At first I tried to go this route-
It just wasn’t working for me.
So I changed it up!
I took some pictures of my midgets to put up in their room. Bought the shelves from Ikea and painted them yellow. And made some art to put up. They helped me make the “Every freckle on my face is where it’s supposed to be.” quote art work. And they had a blast. I’ll post pictures of that later 
(Quote from and India Arie song. Love her songs!)
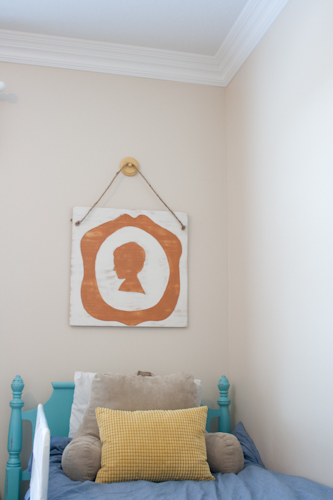
Now don’t worry, these are not really hanging from the rope. I have earthquake wall hooks on the back, these babes are not going any where! Safety first!!
I made these out silhouettes of plywood and paint that I had in the garage. I watered down my paint and sanded after I painted to give these a distressed look. I added the rope and make the “faux” mustard yellow wall hooks. Pretty dang cute I think!
I put up these picture boards, I had them laying around the house. I want to have lots of pictures around my house
and I knew my kids would think this was super cool. It is up pretty high so they can’t reach the tacks. 
I have been seeing all those cute “Read” signs on Pinterest and wanted to do one similar.
But, I didn’t want it to seem like I was demanding someone to read, lol, so I added the “we love 2” part.
The heart is from the top of a cardboard box near the letters at Hobby Lobby.
By the way! I do not recommend these Ikea spice racks for book shelves. The books fall off all the time.
The “animal cage” as we like to call it was built by little ol’ me! 
I didn’t know what to do with all the stuffed animals my kids have. I had them pick out some to donate, I was sneaky and got rid of a few, but they still had so many.
So I thought up the idea for this bin. I measured they space under the books and made this one morning while my kids where at school. I will share that tutorial soon too.
I love it! And it cost me about $8 or less.
I thought a lot about bedding for this room. That was probably the hardest part. I looked everywhere! I bought a few different things, tried them and sent them back. I ended up going with these from the Land of Nod. They were both on sale for about $25 bucks each. It was my husbands idea to do a blue and a pink. I love how it all came together.
FREE Valentine Prints!
January 28, 2013 by Lynn
Filed under Art, Featured Content, Free Printables, Holiday Crafts, Valentines Day
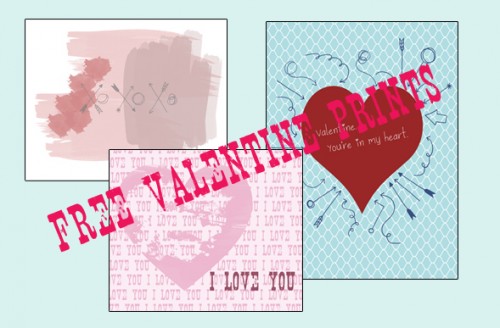
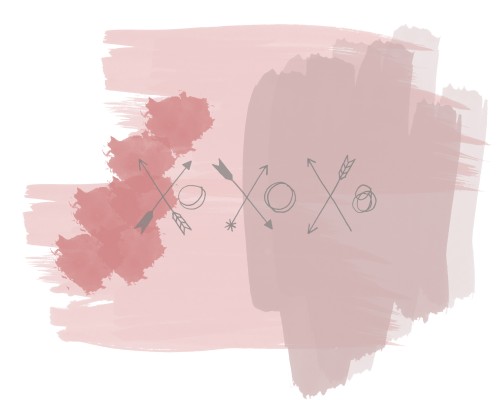
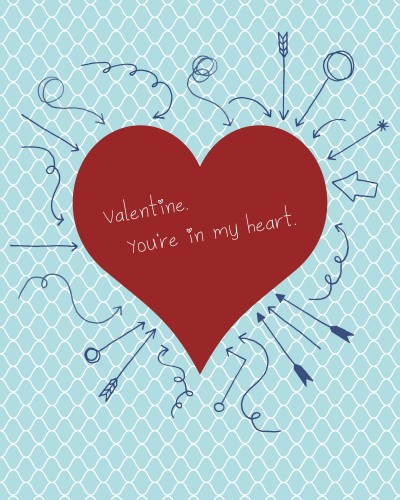
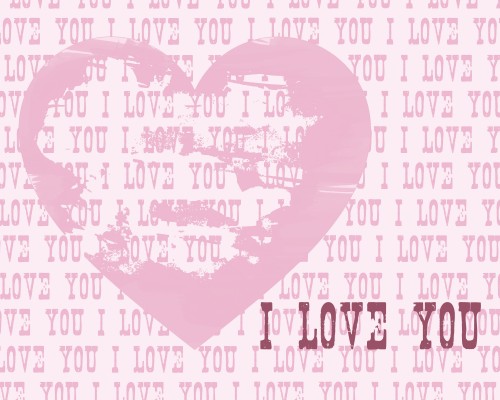
A little while ago I found some awesome free photoshop brushes at www.creaturecomfortsblog.com. I have been wanting to make something fun for my house. I used her arrows brushes, lip brushes, and her ink brushes. They can be found HERE, HERE, and HERE! Check out Creature Comforts blog, it is packed with fun stuff.
These are some fun Valentine’s Day prints I made for my house. And I love to share, so please help your self!  These are all 8×10 images.
*These are for personal use only* Do not distributed or sell. If you would like to share them, please link to the post and don’t host the file yourself. Thanks!!*
Download HERE
Download HERE
Download HERE
If you print these at Costco make sure to click “Do Not Auto Correct” before submitting your order. It could mess up the colors in the print.
Free Art Prints
January 12, 2013 by Lynn
Filed under Art, Free Printables
Since Valentine’s Day is coming up I thought I would share a sneak peak of some prints I am going to be selling!
And I am going to let you download and print them for FREEEeeee!!! (for a limited time)
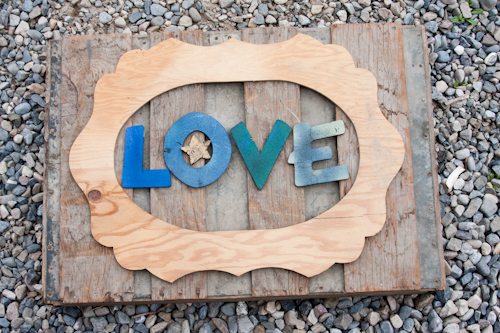
Last summer a friend and I got to go into an old house and wood mill that were two days away from being torn down. We found lots and lots of fun treasures. But, one especially great find where these rubber letters. I think they were used for stamping wood.
They were in a desk that was full of them. All different sizes and shapes. We grabbed them all! I arranged them on the back of a wood box we also found and took these pictures. I hope you enjoy them! I have more, but I will save those for later. I am just putting up the ones that have the word “LOVE”. 
*These are for personal use only* Do not distributed or sell. If you would like to share them, please link to the post and don’t host the file yourself. Thanks!!*
8×10
download HERE
download HERE
8×10
download HERE
If you print these at Costco make sure to click “Do Not Auto Correct” before submitting your order. It could mess up the colors in the print.
I hope you have a wonderful Valentine’s Day!
Leave me a comment and you could win of these printed on metallic paper!!! 
Love- Lynn


