Batty Halloween Wreath
October 12, 2011 by Lynn
Filed under Crafts, Halloween, Holiday Crafts
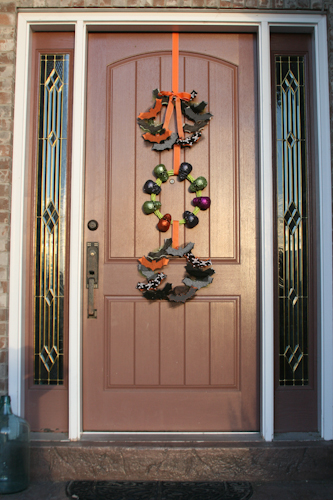
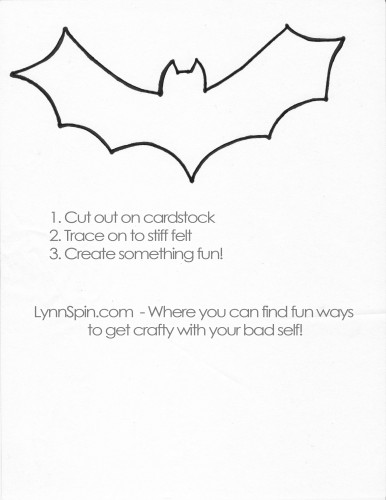
I am kinda obsessed at the moment with three tiered wreaths. This is my Halloween wreath. On this post (scroll down to find) is a printable of the pattern for the bat I used.
Hope you find a fun way to use it this October.
I bought three round wood wreaths from the dollar store and used spray paint I already had to make them green and black.
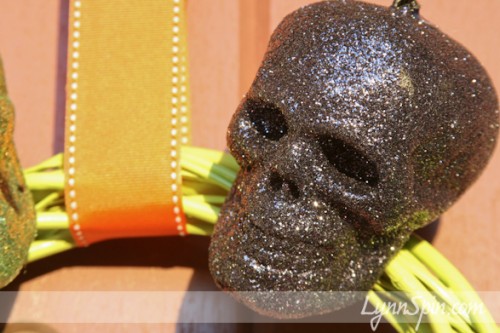
I had orange ribbon that I hot glued to hold the wreaths together. I found these skulls at my local thrift store and hot glued those on as well. Don’t you love hot glue?! I do.
I cut out the bats with stiff felt- can find at any craft store. I also cut out some black and white patterned fabric bats too and glued them onto some of the hard felt. This was the most time consuming part of the whole thing. I wrapped some glitter tulle around some of the bats too.
You can get the full sized bat pattern by clicking HERE .
I linked up to-
Nutty Lynn’s Crunchy Granola
October 11, 2011 by Lynn
Filed under Breakfast, Featured Content, Yummy Food
Thanks for reading!
Gallery Wall Welcoming You In
October 10, 2011 by Lynn
Filed under Decorating, Featured Content, Home and Garden
Come on in ya’ll! Okay, I am no where near a southern bell, but seriously come on in and check out my new and improved gallery wall.
Since I moved to the nice state of Utah I have had to find new ways to display my photos. I had a place for everything and everything in it’s place in San Diego. I felt a little lost starting over. But! I am glad to say I am pulling it together.
First things first- the entry way. I want people to feel welcome in my home. And I want to also display what I love and what is important to me. I am always telling my husband (as I beg for more furniture usually) that I want my house to reflect ME. I want you to walk in my house and say, “Yeah, that’s Lynn alright.” LOL it might be corny, but it’s what I want. 
Here is where I started 6 months ago when I moved in.
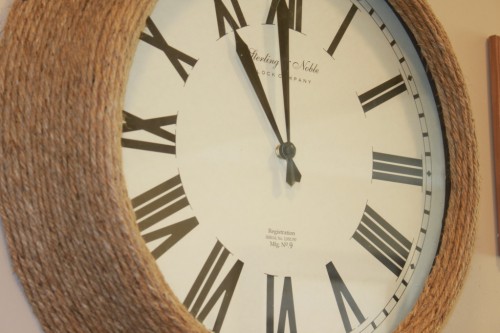
Since this picture I have redone those chairs and I had added a ton of pictures. The wall felt heavy will all the pictures. I wanted to add a letter M for our last name, but I wasen’t sure how to rearrange everything. I was a little nervous to play around. But! Fear Not! I got some inspiration over at my new buddies BRAND-SPANKIN NEW blog The Rooster and The Hen. She has a beautiful display wall with a jute clock in the middle. Check out their blog, it’s filled with great home decorating ideas.
I decided jute was the answer. I also had “The Hen” come over and she suggested adding mirrors. Great idea, I was off to search for jute, a letter, and mirrors.
Well I could not find a letter I liked anywhere. I made my own out of a piece of card board then wrapped it in jute. Probably cost me about 50 cents with the jute, hot glue, and free card board.
I used a ruler and a piece of mail with the letter M I liked, to reference while I drew it out. I cut it out, then started wrapping the jute around it.
My search for the mirrors was rough too. After trying Ross, Pier One, Hobby Lobby, ect. I came up with nothing. Savers. Yup, I love me a thrift store. I walked in and the first thing I saw was these three mirrors. Sweet-mother-of-pearl! So I wrapped those bad boys in jute too.
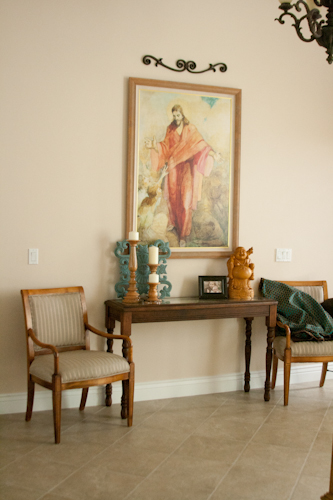
Here is how it all looks
Jesus AND Buddha welcoming all 😉
I love this sign that says, “This is our happily ever after.” Says it all 
My favorite two people are front and center. 
The Road to LaLaLand
October 7, 2011 by Lynn
Filed under Crafts, Featured Content, Kids Crafts
We have a huge unfinished basement that was being unused. A total waste of space. The hubs and I decided to make it into a playroom for the time being. We put up half -wall dry wall all the way around the room, to keep the kiddies safe. And now we are beginning to make it a fun room. The first step so far was our road. Now that we live in Utah and won’t be able to play outside everyday like we could in San Diego; I wanted a place to ride bikes in winter. Hence, “the road.” Here is the duct tape road I made in the basement.
Making my space work for me and my fam-a-lama.
There’s a curvy and straight side to the road.
Utah Houses with Halloween Style
October 5, 2011 by Lynn
Filed under Decorating, Featured Content, Halloween, Holiday Crafts, Home and Garden
It’s time to decorate your house for Halloween! These houses have style without their Halloween decor, but they are even more amazing with a pumpkin or two or ten.
I drove around the other day to photograph two houses that I think have style. When I got to both of the houses their Halloween decorations where up. It was even better. I then decided to find more cute houses. So… here are some of the houses around me that I vote stylish and fun. Enjoy the pictures! I hope you feel inspired, I know I do!
This first house was simple, two pumpkins sitting on beautiful teal ceramic planters. The colors where amazing together, loved it.
Simple green wreath with burlap. This is a classy-clean look.
This second house is one of my favorites in my area. Whenever anyone is in the car with me I have to point out it and it’s green shutters. I think this house has tons of charm!
I love old houses, especially when they are taken care of so well.
I love the black and orange sheer strips of fabric hanging from the front porch.
This house is a beautiful bungalow. I would love to have an old bungalow to fix-up someday. Houses with character are the best in my opinion.
I am going to find me a cute flower pot this weekend and stick a pumpkin on it. So fun!
I loved all of the pumpkins and hay bales on the porch of this house. Lot’s of clever little touches.
Even the bird feeder was ready for Halloween.
Putting little pumpkins in the window box was one of my favorite touches.
This house was simple and classy too. Just decor on the door and those fun aqua chairs.
Now that I am inspired I need to go bust out my own Halloween decorations!
Big THANKS to all the homeowners that let me take pictures of their houses. 
Making Envelope Pillows
October 4, 2011 by Lynn
Filed under Crafts, Featured Content, Sewing
Today I made two envelope pillows and I am going to show you how to do it too. It is easy! And no zippers to bother with. I have been putting this project off because I was a little intimidated. But, thanks to my new sewing machine and my sewing classes that came with it I am feel’in good ladies! These pillows took me 3/4 of Toy Story 3 to complete. Sooo…. yes, I bribed my children with a movie today, lol. No worries I took them to the park before nap time. It’s all good. 
Here we go!
I like to buy pillows at Ross then take out the insert. It is a cheaper way to buy a nice feather pillow and you get a cover to use at a pattern. I can then just lay down the original cover and cut around it about 1/4 wider that it is. If you already have a pillow insert, measure it and cut your fabric 1/4 inch wider as well.
I cut the front piece following the cover. Then for the back fabric I cut them the same width, but added 8inches to the length. I then cut these pieces in half making them 19.25 by 13inches. I have 2 of those per pillow.
On the sides of the back envelope pieces that will be showing I folded them under and sewed them to have a nice finished end.
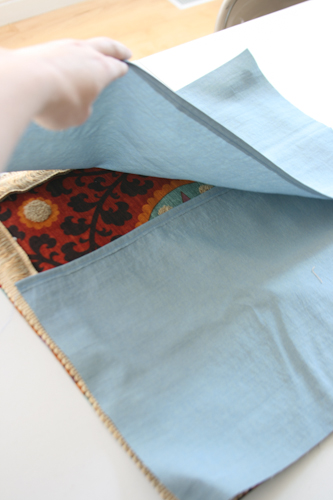
Now I laid down my front piece face up, put the trim on that sitting inside the pattern, and then laid the back envelope pieces face down overlapping each other.
All the parts you want to see when you are finished will be hidden inside your little fabric sandwich. Pin it all the way around. Make sure your trim stays in place.
Sew all the way around make sure you are catching your trim evenly.
Then cut your corners down just a bit.
Flip right sides out. Insert your pillow.
I if you have trim like mine, make sure you pull out the tread that it is holding the little treads together. Best to do this after you sew; to keep it from getting sewn under in the wrong places. You can just snip the tread and gently pull it off. Then play with it a little to get it to be fuzzy.
And… da da da YOUR DONE!
These pillows will go on different chairs, but I am not done with the chairs yet… soon hopefully!  Check back to see where they will be going.
Finishing Wax- Blue Hutch
October 3, 2011 by Lynn
Filed under Featured Content, Furniture Redos, Home and Garden
When I first moved to Utah six months ago I called my best friend to complain. That’s what best buds are for right? 😉 Actually they are there for helping you get out of your funk. And that’s what my buddy did. I whined about how my stuff didn’t fit in this house and she kindly listened. Then she wisely said, “Why don’t you go buy a cool hutch and paint it a fun color. You are good at that.” I looked over the wall where this future hutch would go, imagined it, and said, “That is why you are my best friend!”
I started my search on KSL that day and found a hutch for $80. Bought some paint. Then…. let it sit in the garage for a month or three, lol, then got crack’n.
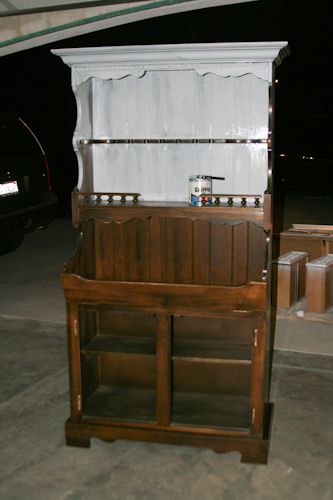
Half way into priming it I realized I didn’t take a “Before” picture…oops
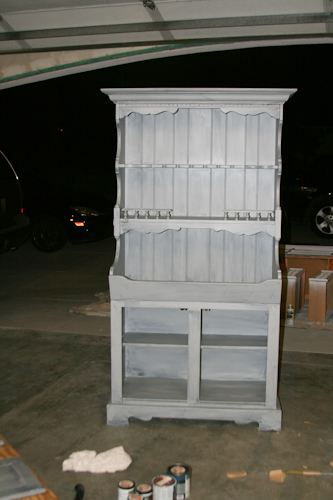
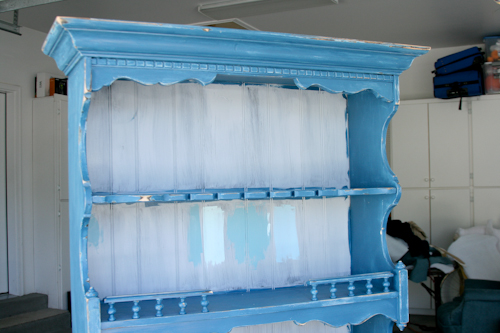
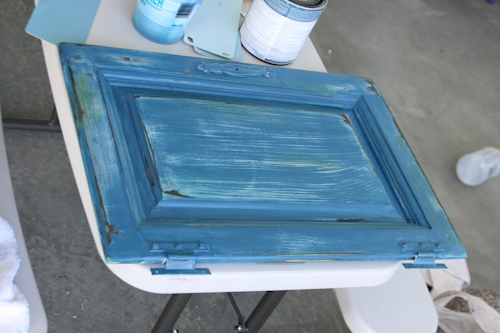
I primed it with a gray primer I had left over from painting my kitchen cabinets in my CA house. I used a regular wall paint brush to apply it. This gave it heavy brush stroke marks, which I wanted.
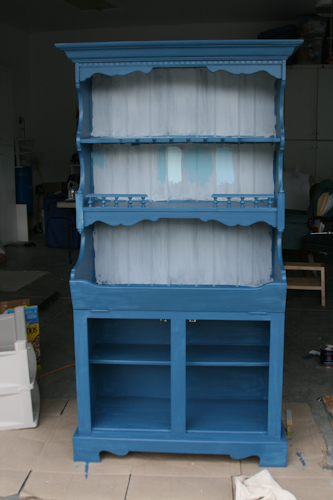
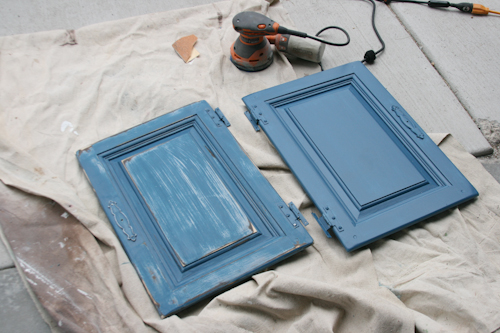
Then I painted a blue over the top with a foam brush. Foam brush does not leave marks. But you could still see the ones underneath a little. I put two coats of blue on. Then….
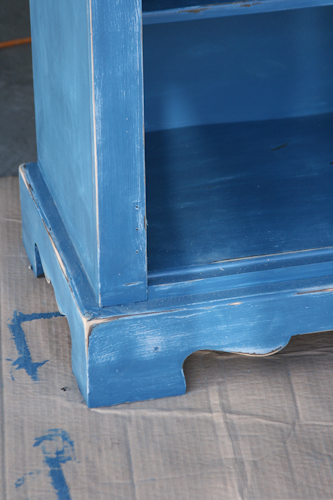
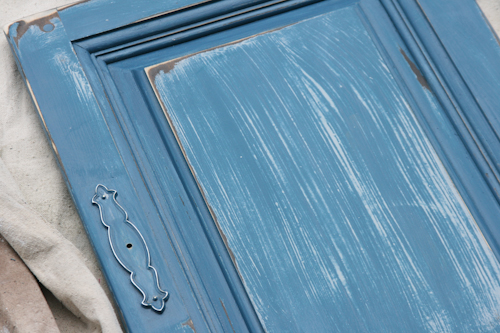
I went crazy with my sander.
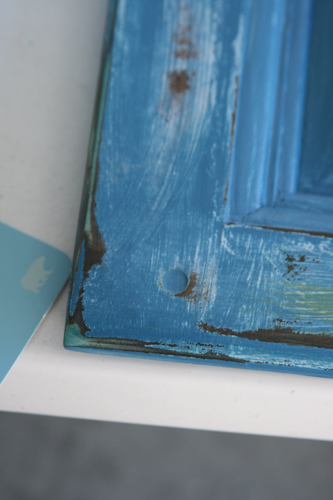
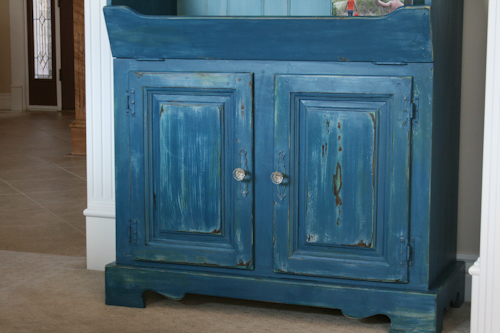
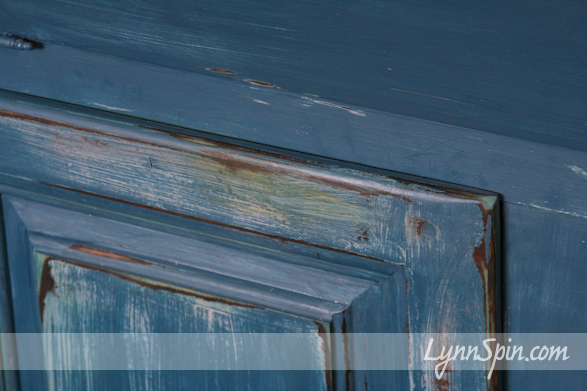
But after my craziness I realized I really didn’t like the light wood showing through. So I stained it green. I took green paint brushed it on, then wiped it off after a second or two.
I also willy nilly brushed on some color to different spots. And then went over the whole piece with a navy blue glaze.
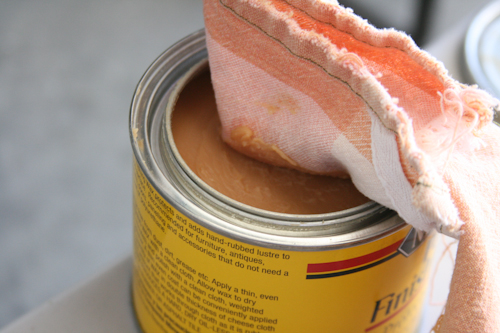
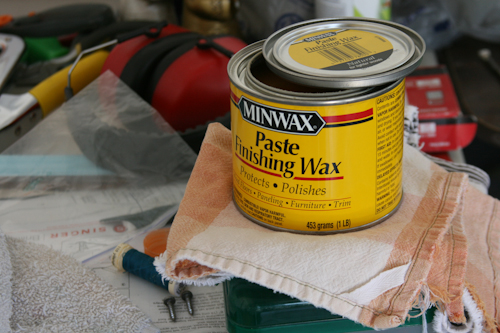
After I was done I decided to try using a wax instead of a polyurethane; which I usually use to finish furniture.
I loved it! I will definitely be using it again. Super easy. Just get a rag, wipe it on. Wait until it is no longer tacky to the touch and then with a dry clean rag, rub the piece till it shines just a bit.
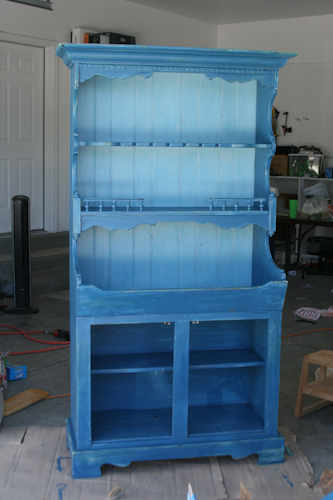
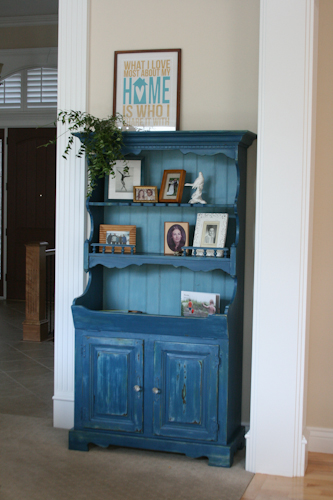
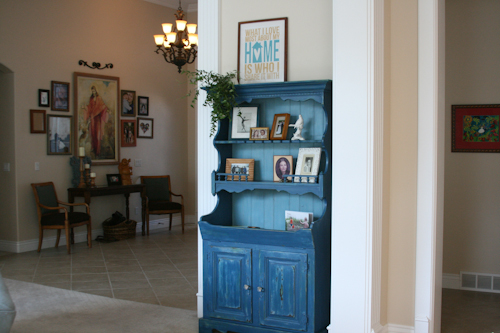
This is how it turned out.
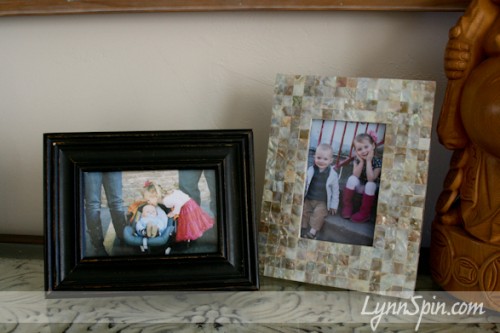
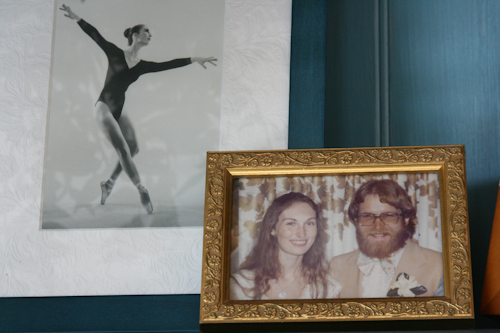
I am still trying to figure out what to put on it. I want to get some fun frames and put our family pictures on it. But for now, my parents grace the shelves.
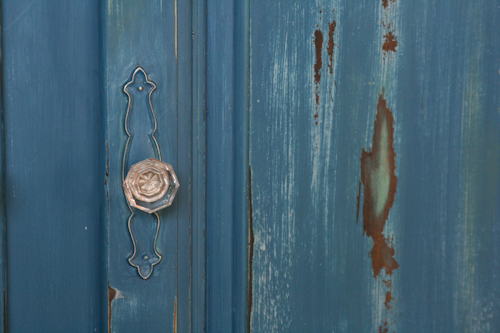
I bought some fun glass handles from Home Depot for the doors.
It will all come together soon. I hope 
Rag Curl Tutorial
October 3, 2011 by Lynn
Filed under Fashion, Featured Content, Home and Garden
When I was little my mom put my hair in rags all the time. I would beeeggg her to do it. I loved how curly my stick straight hair got. When I was old enough I learned to do it by myself. I did it for crazy hair day and even some school dances. The other night I was going through my fabric and found some strips of fabric; which totally took me back to the “old days.” Then thought how much fun it would be to try on Charlie’s hair. She loved the rags in her hair too, she thought it was a fun way to sleep (kids are crazy lol). And she was even more excited when I took the rags out to reveal her “Crazy curly hair!” It’s easy to do.
-Rag Curls-
First cut strips of fabric 1 inch by 8 inches. Depending on your hair thickness cut between 10-25.
Then get your hair wet. Have a spray bottle handy in case parts dry while you work.
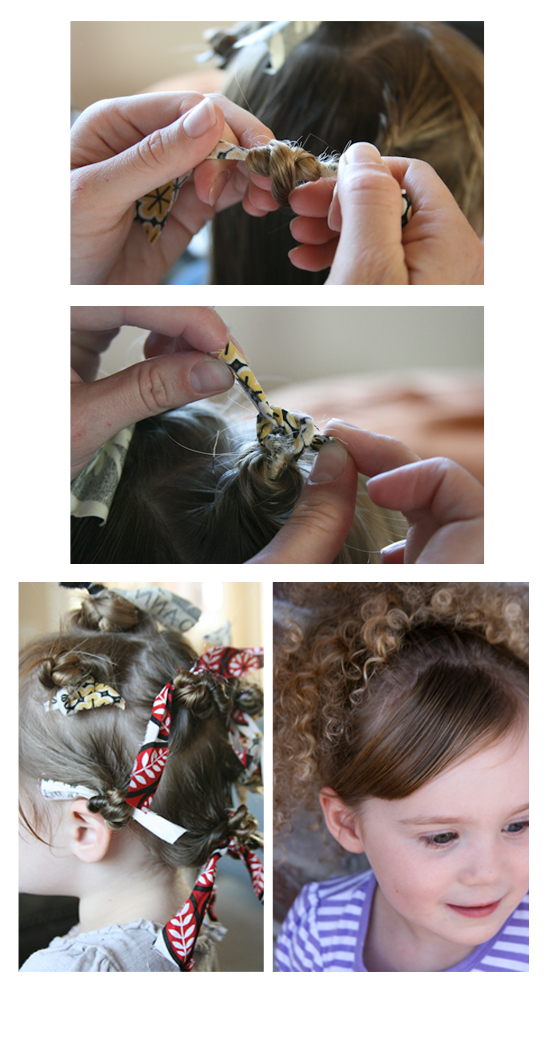
Then take sections of your hair and twist. I like to start when I would want my part to be. Twist all the way to the end of the piece of hair.
Begin to wrap hair around the fabric rag.
Wind it up the head and tie in a double knot.
Sleep in rags
And the next day….
Unwind rags
Now use a pick or your finger to pull curls apart
A whole lot-a curls!
Style your hair and waa-laa
Curls!!
Please leave me some comment LOVE on my blog!
I love to hear your thoughts and know that you stopped by 


