Tree Ornaments
October 20, 2010 by Lynn
Filed under Halloween, Holiday Crafts
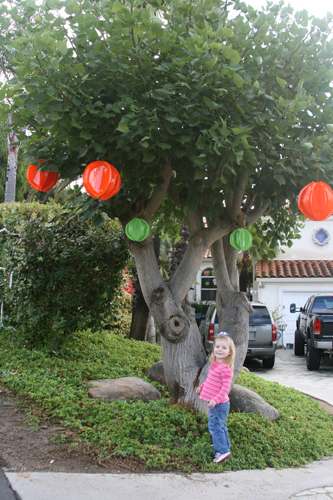
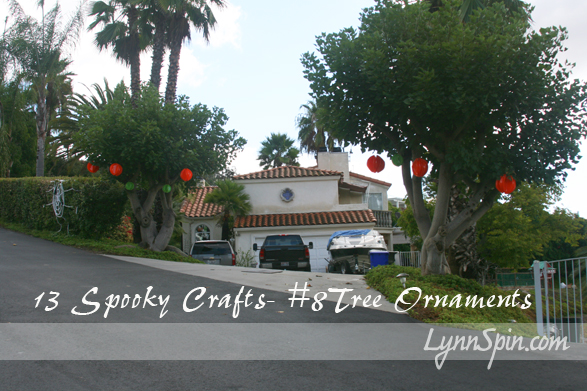
These are easy and cheap to make! Fold six plastic plates in half, hot glue them together to form a ball, attach some string, and hang from a tree! Easy!
Get Crafty with Your Bad Self!
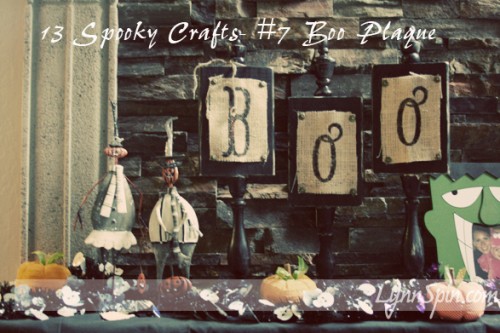
Boo Plaque
October 19, 2010 by Lynn
Filed under Halloween, Holiday Crafts
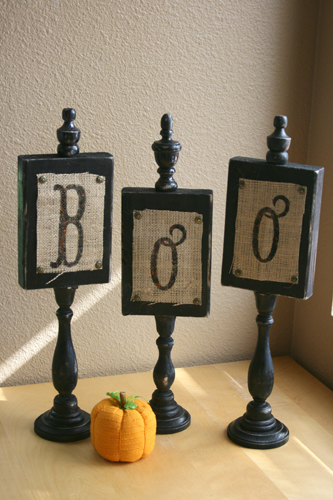
This awesome craft was found at Shanty to Chic; by my best bud Allie in search for a Super Saturday craft. Allie has good taste.  I browsed through Shanty to Chic’s Blog and they have some cute stuff! Check them out! Their Plaques say JOY, but after thinking about it (and being in the Halloween mode) I decided to put Boo on it. I love how it turned out.
You need:
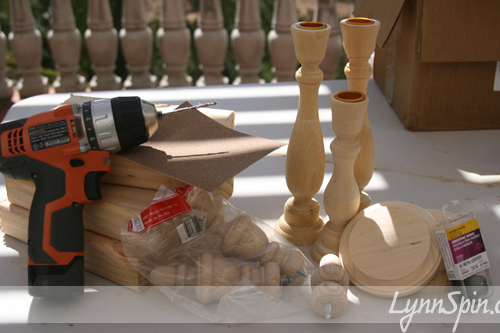
3 3in wooden circles
3 wooden candle sticks. Two tall and one short. You can find these supplies at Michael’s in the unfinished wood section.
3 Finials- Found mine at Lowe’s
3 8in pieces of 2 x 6
Liquid Nails (I did use Gorilla Glue, but on other ones I made I found I preferred the liquid nails.)
Black paint or spray paint
Burlap
Boo Stencils- made mine with the cricut and heavy paper.
Spray adhesive
Decorative nails-Upholstery Tacks
Sand Paper
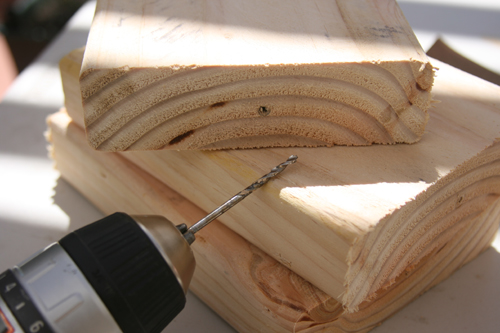
Start by cutting your 2×6 in to 8 inch pieces or have the nice man at Lowe’s do it for you. The sand down the jagged edges. I drilled a hole in the top to help the finials go in easier, but you can just use your muscles in twist it in. FYI I did this a little differently then Shanty to Chic, but look at theirs too and decide what works best for you.
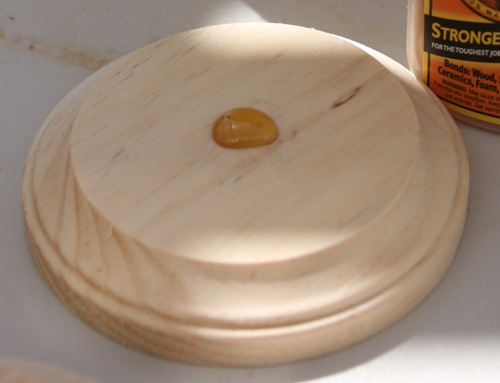
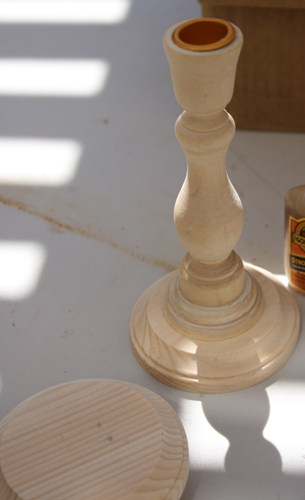
I then used my liquid nails to glue the base circle to the candle stick. I centered it, pushed it down hard, and let it dry for 20 mins. If you want to you can tape to hold it together, but with the liquid nails it’s not a must.
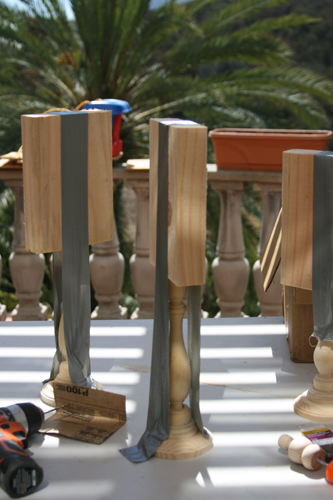
After that’s dry glue the 8inch piece to the candle stick. If your candle has a metal holder in it rip it out with pliers, so that wood glues to wood. You can either put your finial in before you glue the block to the candle stick or after it has been glued and set.
Again the tape can help, but it’s not a must.
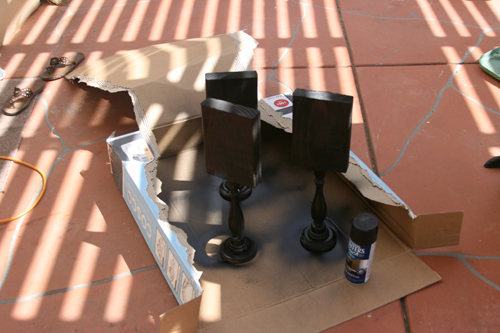
After you put in the finial and the glue has had time to dry, it’s time to paint!
I used spray paint, but when we did this for Super Saturday (big church craft day) we used regular paint. So either way is good.
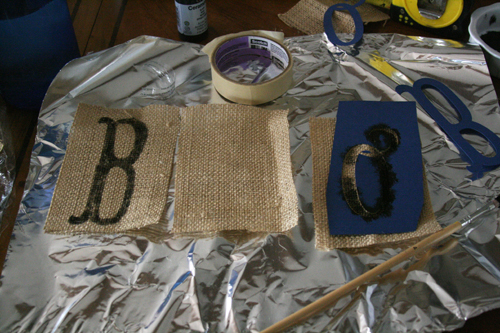
While that was drying I cut my three burlap pieces. I cut them 4×6. I made a stencil for the letters using my cricut and the Storybook cartridge- font The B was Tall and the O’s were Fancy and they were all 4 1/2inches tall. Originally I did these out of heavy paper, but for Super Saturday I made them out of quilters plastic. This was a bit tricky, but use a deep cut blade, dept at 3, speed at the highest setting, and pressure at a 3 or 4. You can buy a sheet of this at Joanne Fabrics. Buy two sheets incase you mess up, less driving 
I lightly put the paint on to keep the lines sharp.
For Super Saturday we did JOY on the Front and Boo on the back. Multiple uses, nice!
Now if everything is dry spray the back of the burlap with spray adhesive and attach to wood block. This will keep it from stretching. Push your upholstery tacks in the corners of the burlap. You’re done!
Get Spooky with Your Crafts!
Check out Shanty to Chic’s blog!


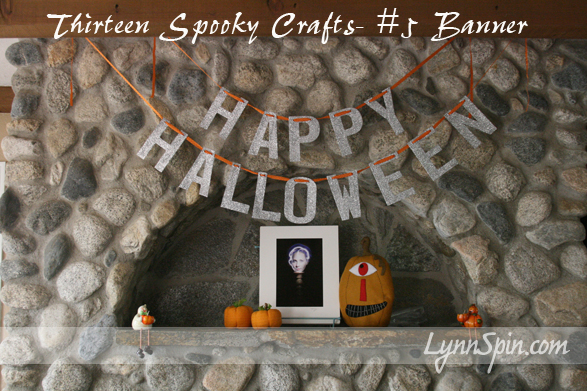
Happy Halloween Banner
October 14, 2010 by Lynn
Filed under Halloween, Holiday Crafts
OK, so this is not that creative I know. But, I really love this. I love glitter, especially during Halloween. I got these letters at Jo-Anne Fabric’s in the dollar section. I just looped them through some string and thumb tacked them to the ceiling. You could also cut out letters on your circuit or other die cut machine and make this.
Just had a fun thought. You could use the birthday banner instructions found here to make a sweet Halloween Banner. OOooo Good idea. I will do that next year. I am up to my ears in crafts right now. My Super Friday-(yearly church craft day) is tomorrow and I am in charge! I am kinda sick of driving to Micheal’s, Walmart, and Jo-Anne’s – which I never thought I would say. Because of that my 13 spooky crafts will resume on Monday, I am going to need a break after tomorrow 😉
Also I have a new button for my fabulous 13 days of spooky crafts. Get it here
Thanks!!- Lynn
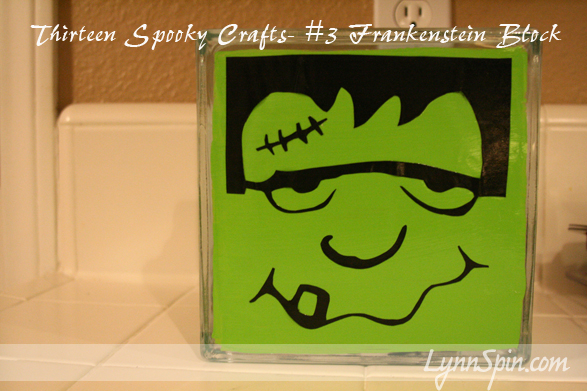
Frankenstein Block
October 12, 2010 by Lynn
Filed under Halloween, Holiday Crafts
This awesome craft was found at The Idea Room designed by Amy. Who I must say makes some cute crafts! She has great ideas for kid projects too. Check her out at The Idea Room. I did this a little different than Amy, cause a few things didn’t work for me. But check out both ways and decide what works best for you.
Here’s what you need:
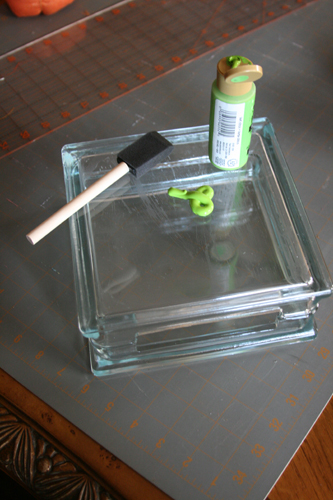
Glass block with a whole in bottom
Green paint
Sponge brush
Mod Podge
Small set of Christmas lights- Big Lots has a perfect size for $1.50
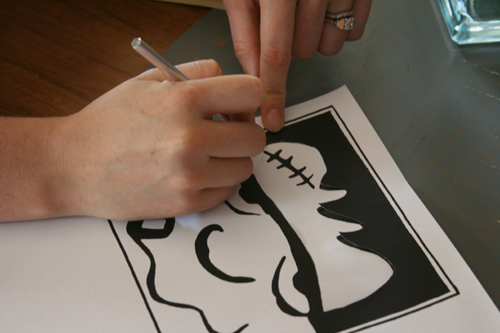
Printed Frankenstein silhouette – you can get his at The Idea Room by clicking here
x-acto knife and scissors
black sharpie
Clear enamel spray
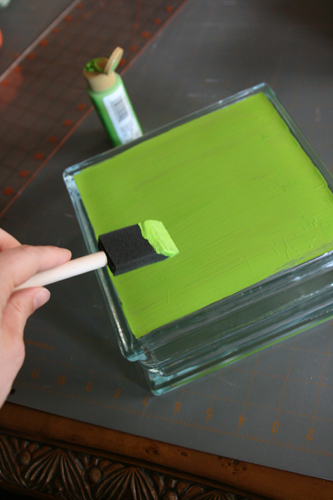
Start by painting a coat of your green paint on the block.
Let it dry (use your blow-dryer to speed things up)
Apply a second coat
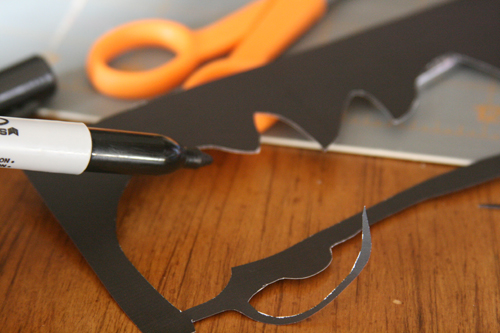
While that is drying cut out your silhouette.
Touch up edges with your black sharpie.
Now mod podge the silhouette to the glass block. Let dry.
After dry, spray the enamel over top to seal it all. Might want two coats of the enamel.
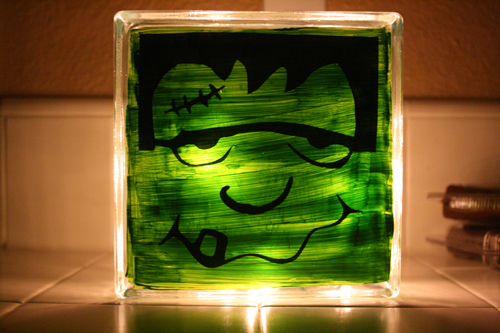
Stick the lights in and wait for dark 
He looks bandged. I like it! Spooky!!!
Get Crafty with Your Bad Self!
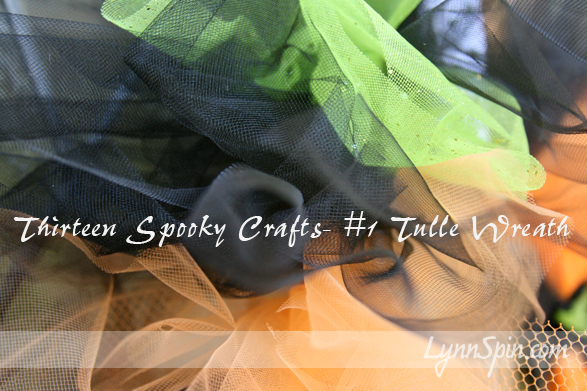
Halloween Tulle Wreath
October 10, 2010 by Lynn
Filed under Halloween, Holiday Crafts
Halloween Tulle Wreath
I found this wreath, actually my awesome friend Katie found it, but there was no tutorial. So I made one for y’all. It doesn’t really need one though, it’s easy. Katie found it here at Something To Do -Blogspot Great idea Jamie! So classy looking.
I put a little Lynn spin on it and added a few more colors of tulle.
Here’s how you do it.
1 coat hanger
Duct tape
2 yard of tulle- colors you choose
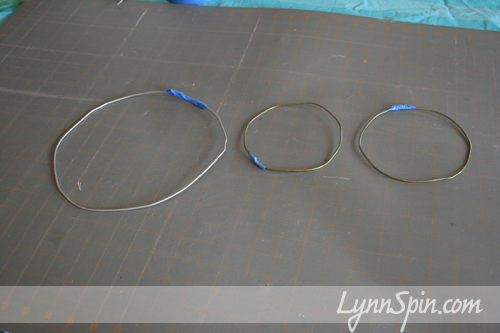
Take your coat hangers, cut them, and bend them into circles. Use the duct tape to hold the ends together. (Don’t use the blue painters tape like in the pic, didn’t hold of course)
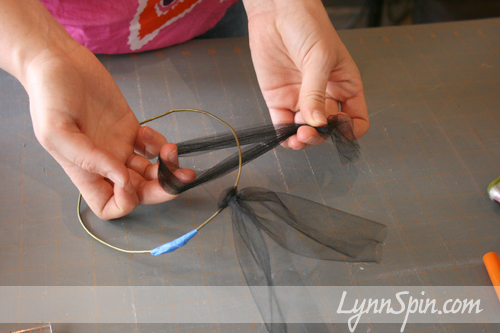
Cut 5 inch wide by 10 inch long strips of tulle. Strips can really be whatever length and width you like. Sometimes it looks cool to mix up the width, when you are doing different colors.
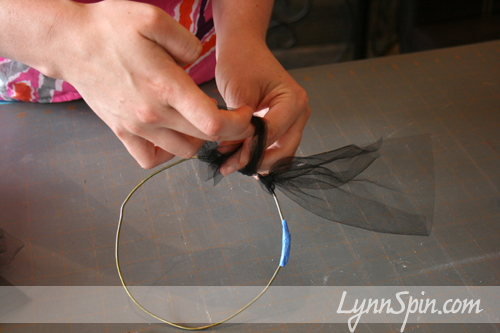
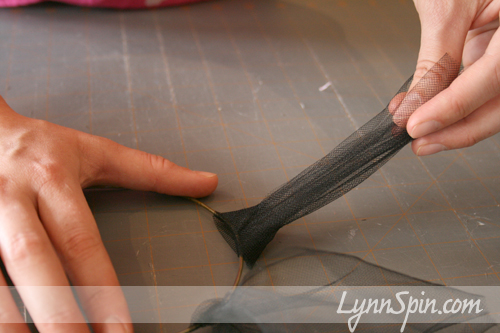
Begin to tie knots around hanger. You can tie the knots like in the pictures or just knot. Either way will work, I just liked how this looked.
Pull tight. Push the tulle knots close together to make it thick. If you have a coat hanger and duct tape at home, all you will need is the tulle. And, the tulle will cost about $1.50-$3! Nice inexpensive wreath for you door.
Here are a few more fun wreaths that are Halloweenie or could be easily with a color change.
The Long Thread -ribbon wreath
Razzle Dazzle Crafting- paper wreath
Get Crafty with Your Bad Self!


